Carol Pope
Food to grow where deer roam
Carol Pope
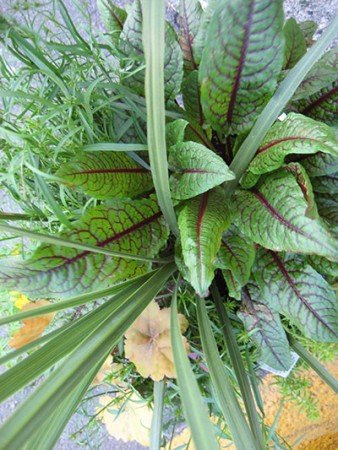
Here's more ideas for food that you can grow in areas where deer roam, including rhubarb, sorrel, garlic and culinary herbs.
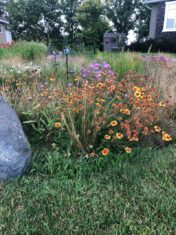
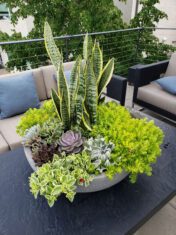
Growing food where deer roam
Carol Pope
It’s a big challenge growing food where deer roam daily, grazing and razing every palatable morsel to the ground. Carol Pope suggests edibles to grow.
How to enjoy edible seeds from your garden
Carol Pope
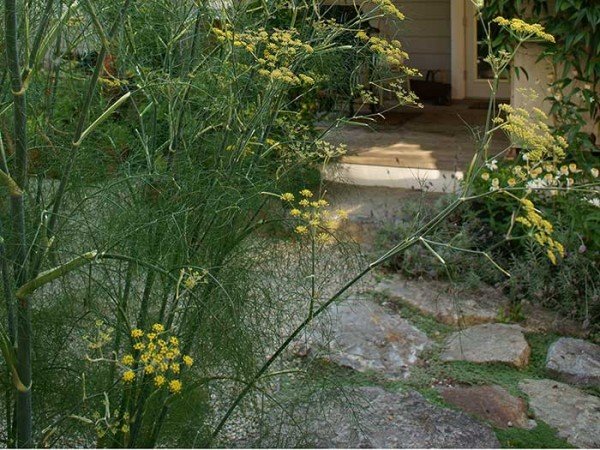
In winter, enjoy tasty, healthy, organic edible seeds from three prolific plants — bronze fennel, cilantro and lovage. Carol Pope explains how.
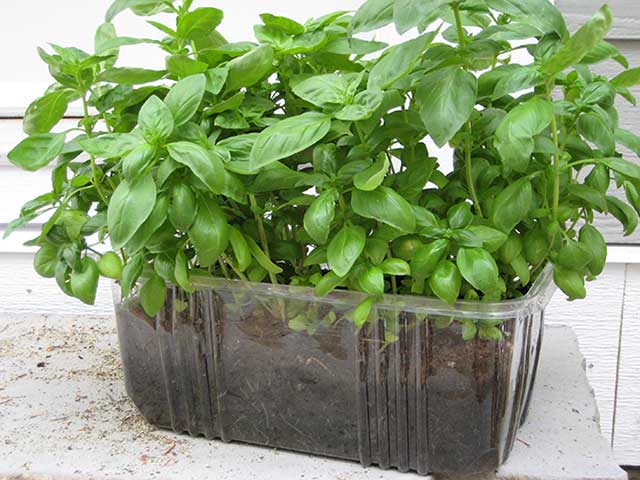
Microgreens give taste of summer all winter
Carol Pope
In winter, you can enjoy fresh herbs like basil and crisp, fresh salad greens by growing microgreens indoors. Here's how.
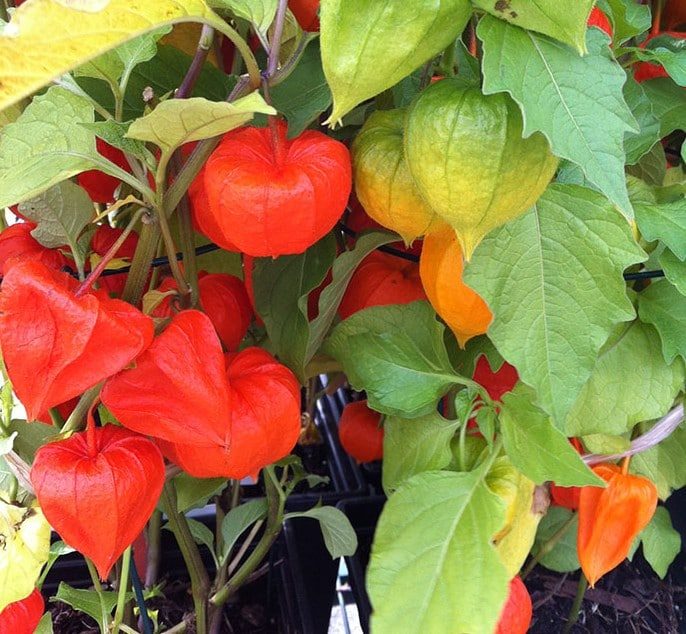
Physalis alkekengi: 4 facts about this decorative fall plant
Carol Pope
To get into the Halloween spirit, pick up a decorative pot of Physalis alkekengi, a.k.a. liv’n lantern, Chinese lantern plant, strawberry ground cherry...