Dugald Cameron
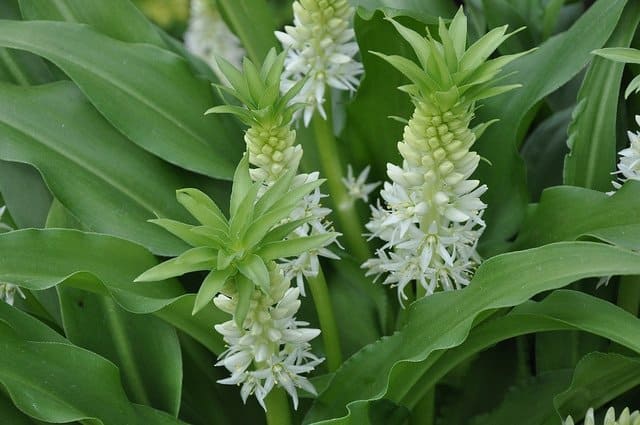
Why won’t my eucomis bloom?
Why won’t my eucomis bloom? They did bloom the first few years, but for the past three, they have grown only leaves. I give them lots of sun and water, and occasional fertilizer.
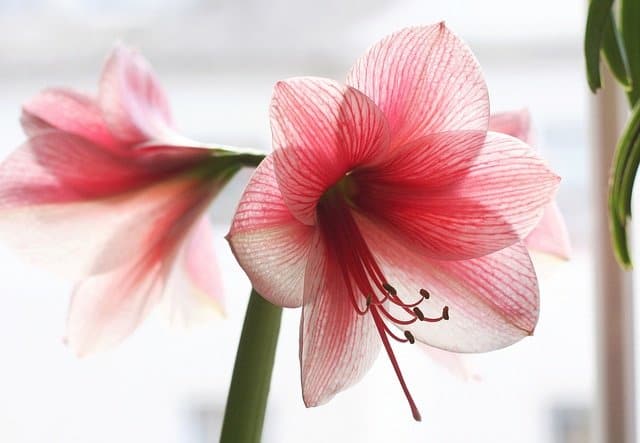
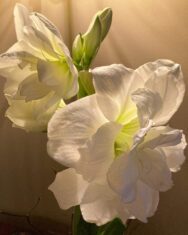
How to overwinter amaryllis?
I stopped watering my amaryllis at the beginning of September as usual. As I was about to store them, they started growing new flower stems! I have been growing amaryllis for 20 years and this has never happened. What should I do?
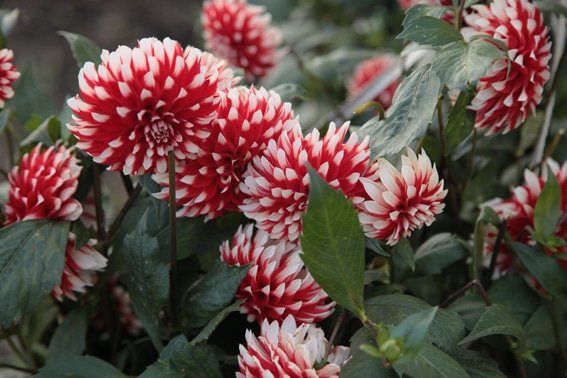
How to divide and store dahlia tubers
How to lift, divide and store dahlia tubers for next year’s garden. Colourful dahlias make a superb cut flower, but need to be stored over the winter.
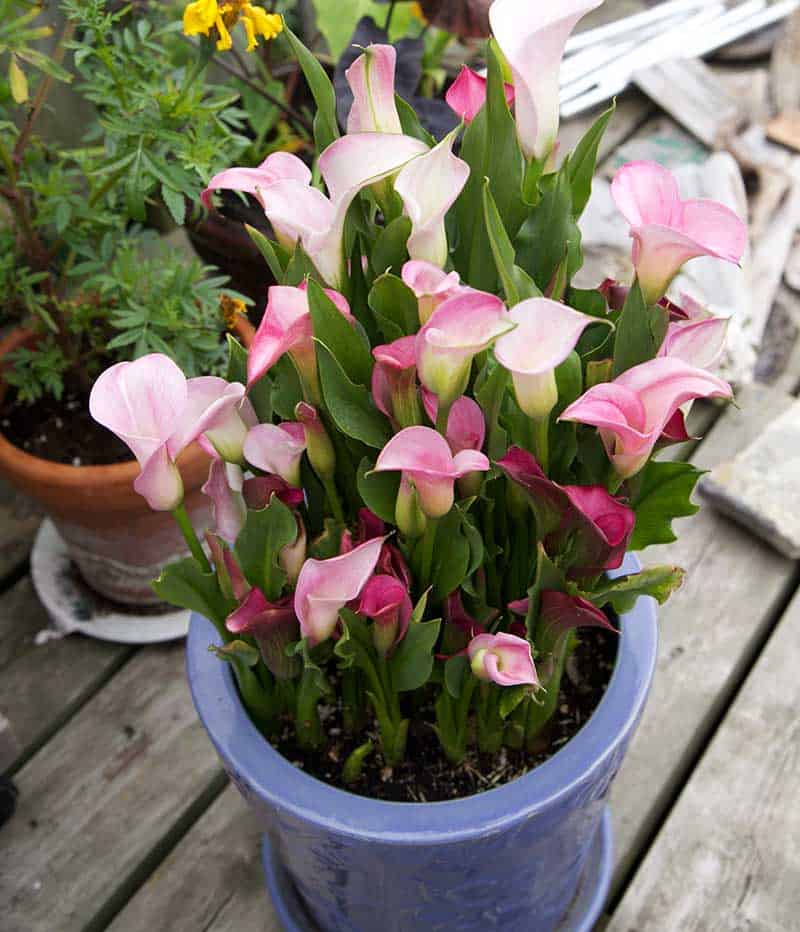
How to store calla and canna lilies
In the fall, you can store calla and canna lilies for next year. Both are easy to overwinter. Dugald Cameron explains how to bring plants indoors.
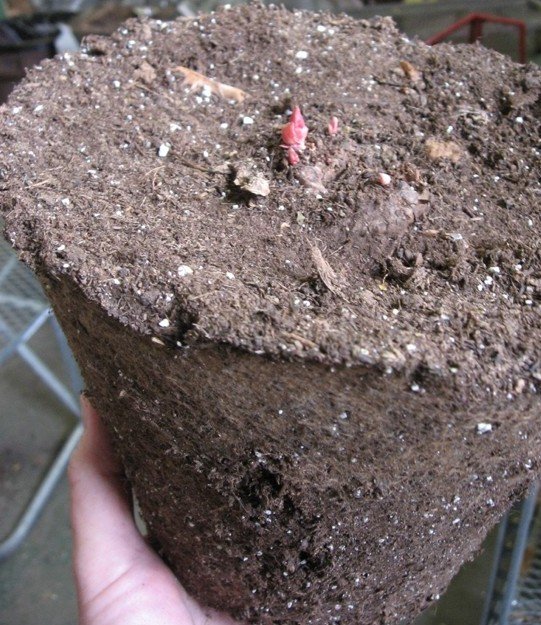
How to store tuberous begonias for the winter
Tuberous begonias are often flowering at their best in late summer, just when it’s time to bring them indoors. How to store tuberous begonias over winter.