
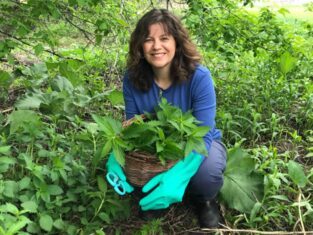
Simple clay amending techniques for a clod-free garden
After almost 40 years of gardening, I’ve learned that the limitations of climate, shade and space are nothing compared to coping with heavy clay. Wise plant choices help mitigate the shortcomings of shade and a small lot. Careful cultural practices lessen the impact of drought and unwelcome frosts. But coping with sticky, dense, unrelenting, unforgiving, heavy clay has broken more than a few shovels — and has nearly broken my spirit as I’ve watched plants struggle in its grip. If only I had known then what I know now, I would have spent much more time improving my soil and less time buying plants at the nursery.
A short lesson in soil
Soil is a combination of minerals, organic matter, water, air and micro-organisms. The mineral component is made up of various-sized particles; clay is the smallest, sand is the largest, and silt falls somewhere in between. The proportion of each component determines the texture and structure of your soil.
The best soil is loam — a balanced mix of clay, sand and silt. I don’t believe it actually exists, and suspect it’s one of those unreachable goals presented to frustrated gardeners, like slug-free hostas and weed-free rock gardens.
Soil composed mainly of clay is heavy and dense because its small particles fit closely together. That’s why it’s so difficult to dig (see Characteristics of Clay, to find out if you have this type of soil). As well, water drains slowly because of clay’s compacted nature, and there is less oxygen available to plant roots. Although clay soil is often waterlogged in spring, during periods of drought it hardens, and water often rolls off the concrete-like surface before it has a chance to penetrate down to thirsty roots. As bleak as all of this sounds, there is one benefit to clay soil: it usually holds more nutrients than sandy soil; the latter has bigger spaces between particles, which causes water and nutrients to leach away quickly.
While working with clay is tough on gardeners, the biggest issue for plants is the slow drainage. Improving its structure (see Clod Busting,) improves drainage; planting in raised beds made with good soil also helps. With careful management and generous additions of organic material, clay soil will improve over time — lots of time. And remember that it’s an ongoing process. The soil will become more workable, but expect to spend a few years amending clay before you notice an appreciable difference.
Characteristics of clay
You know you have clay soil if:
- the soil is sticky and difficult to dig
- digging often results in huge clods that are hard to break up
- the soil is heavy and slow to warm up in spring
- during a stretch of dry weather, the surface hardens and cracks
- the soil is slow to drain
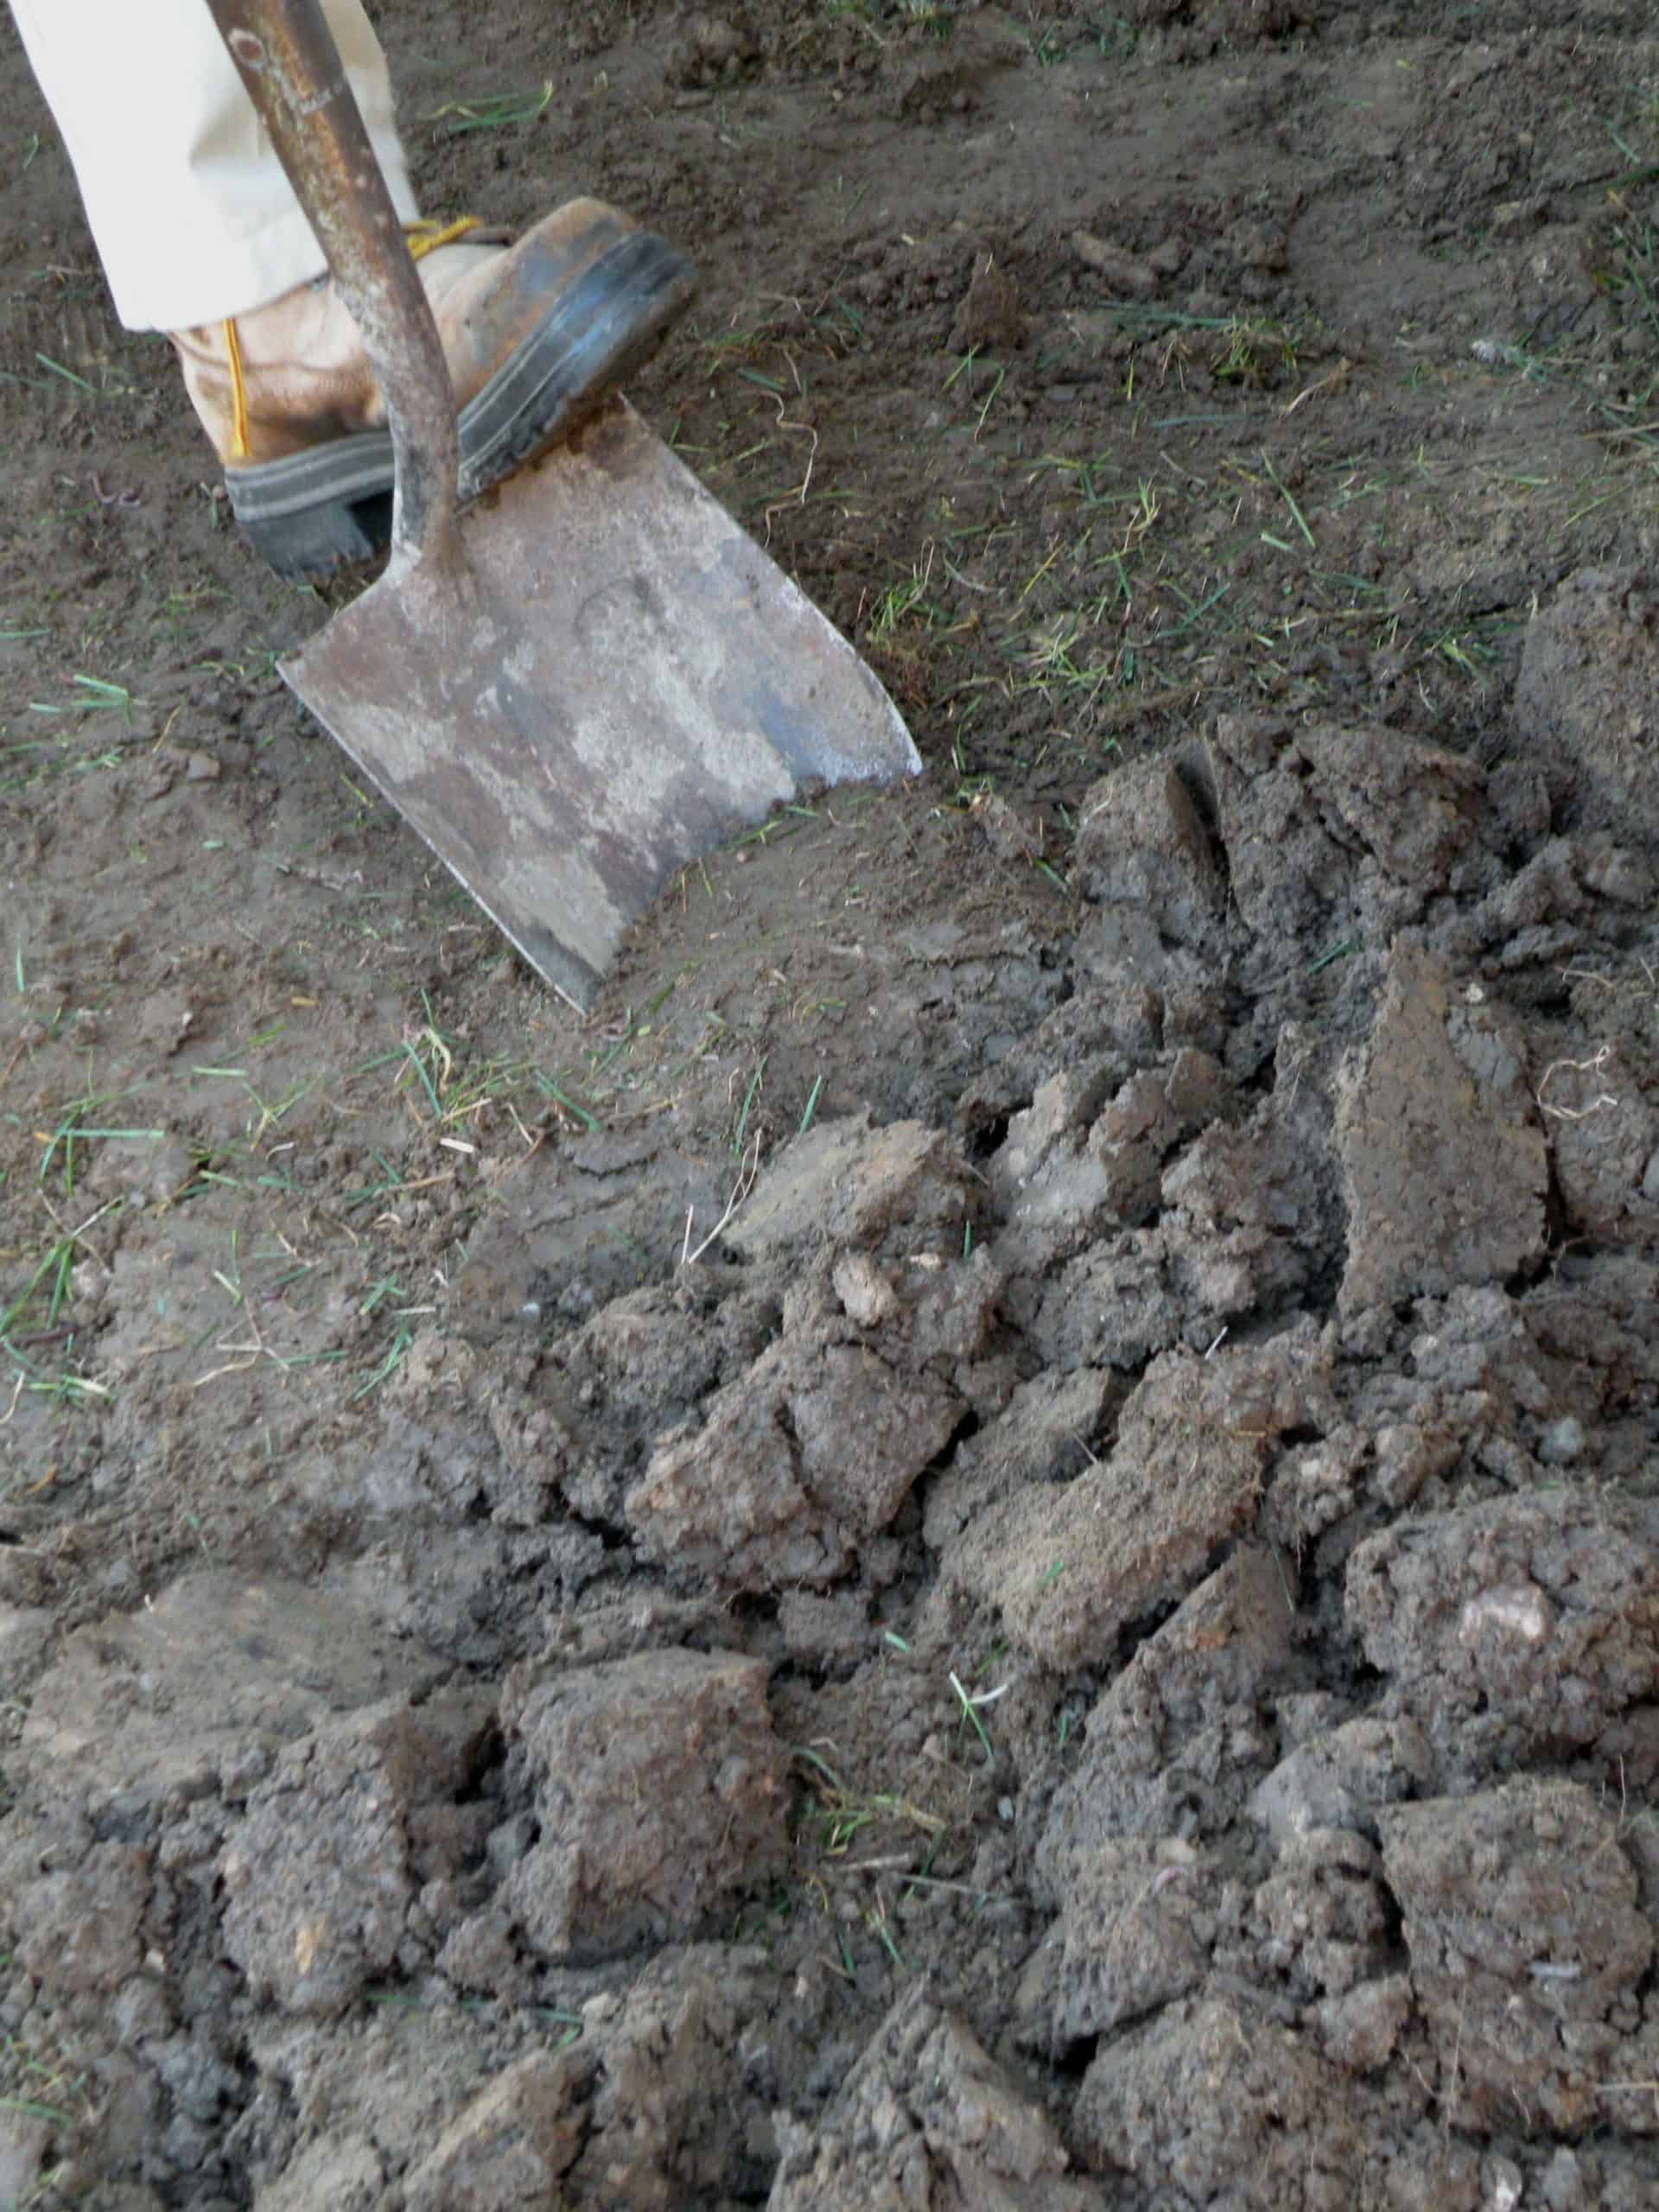
Clod busting
1. Clay soil is easily compacted. Avoid walking on cultivated soil, especially when it’s wet, or compressing it with heavy equipment. Digging wet clay also compromises its structure and will set back your efforts to improve it.
2. Amend clay soil by adding plenty of organic material, such as well-aged compost, sawdust (but not from pressure-treated wood), composted manure or leaf mould (partially decomposed shredded leaves). Coarse materials are better than fine ones. Do this repeatedly and as often as possible. For example, when making a new bed, spread several inches of organic material over the area and dig it in at least eight inches (20 cm) deep. When moving or adding new perennials to an existing bed, throw a shovelful of compost into the planting hole.
Organic materials prompt mineral particles such as clay to come together in clumps, called aggregates. The various sizes and shapes of these clumps help form larger pore spaces, which creates more room for oxygen and water to move around plant roots. Organic materials also attract earthworms and micro-organisms that will munch and digest their way around the soil, loosening up its structure even further.
3. Hand digging clay is preferable to using a tiller, which pulverizes soil into too fine a texture. Digging with a shovel leaves clumps of various sizes that allow a better exchange of oxygen in the plants’ root zone. Dig down at least eight inches (20 cm) when amending. Fall is the best time because soil is usually drier than in spring. Leave rough clods to allow snow to further break down the soil.
4. A two- to three-inch (5- to 8-cm) layer of organic mulch, such as shredded bark or leaf mould, helps keep the soil from forming a crust. It also ups the quotient of organic matter.
5. Adding sand can make matters worse; to have a positive effect, it must be coarse builder’s sand (various-sized particles; not horticultural or play type sand) and copious amounts are needed—at least one part coarse sand, one part organic matter and one part existing soil. Adding too little or too fine a sand creates the perfect conditions for making bricks!
Planting trees & shrubs in clay
- Dig a hole at least twice the diameter of the root ball, but no deeper than its height. Rough up the sides to make it easier for roots to penetrate. Don’t add gravel to the bottom in hopes of improving drainage. According to research done at the University of Minnesota, a layer of gravel creates a perched water table that causes the soil above the gravel to hold even more water.
- Position the root ball in the hole, ensuring that it sits at or slightly above grade; plants that settle below grade can suffer from root rot.
- Backfill with the soil you removed (if it’s relatively fertile) or amend it slightly by adding organic matter. If you amend the backfill material too radically, the resulting drastic change in soil fertility and texture will discourage roots from spreading out beyond the sides of the hole. It’s best to heavily amend the whole bed or border than individual planting areas wherever possible, but it’s better to amend a single planting hole than do nothing at all.
More about soil


Hi ..we moved in to our new house 4 yrs ago, and with lots of excitement planted fruit trees without actually having no knowledge about the type of soil .. ours is a really heavy clay soil and when the trees started giving no fruits to few fruits and sour fruits is when we actually understood that it is too alkaline.. I need your valuable advise as to if anything can be done to improve the soil with my fruit trees in place or is it really too late 😞
I have an area of my yard in the front close to the street which has disastrous conditions. It is 100% clay and rocks (getting new rocks for the landscape truly is the only fun part of digging), is exposed to winds (1 mile from the north Puget sound waterfront in WA), and is at the bottom of a slope with all the water running down, rain or shine. I want to heavily plant this area to create interest and curb appeal. I have several lilac 4 ft lilac bushes I need to put in the ground and wonder if they would do it despite the conditions.
i have young cedars that were planted three and a half months ago. Unfortunately the ground is mostly clay. Is there anything I can do to help them now? I see they are struggling horribly. I wish I had planted them and I would have taken your advice to a add manure etc to the soil. Is it too late for them?
Hello,
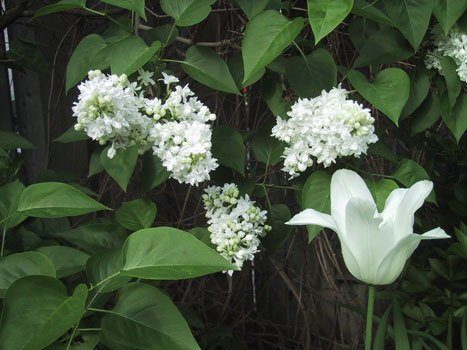
The picture above quotes “lilacs perform well in clay soil”.
Does this mean they perform well if organic matter is added… or can I just plant them straight into the clay soil?
If your soil is heavy clay, it’s worth adding some organic matter—shredded leaves, composted manure, homemade compost—to improve drainage. Here’s my suggestion: dig a hole at least twice as wide as the rootball and no deeper than the rootball. Rough up the bottom and sides of the hole; add water. After most of the water soaks in, place the lilac in the hole, making sure the top of the rootball sits at ground level or ever-so-slightly above grade. Incorporate some organic matter into the removed soil as you refill in around the rootball. Water thoroughly.
I have a burning bush that turns a brilliant red in the fall.Following the last two sprays for sprays for the apple tree it seems that the run off affects this bush.The leaves look dry and eventually the specific branches die. The company that sprays assures me that their product is not toxic but on three occasions now the same thing has happened.This is a really nice bush and has been in that location for many years.Suggest something please.E White
Can you please let me know if there is any treatment for the Blue Spruce virus. We have already had to remove our most beautiful one because of it. Another much larger one had it top removed in the most recent wind storm in Napanee, Ont. The arborist who paid a free visit to give an opinion said to remove the damaged Spruce because the potential of it having the virus made it a poor candidate for rejuvenation. We have 6 more Blue Spruce. There must be something that I can do to protect them. Thank you.
I’m not an expert on blue spruce virus, and given the number of mature trees you have, I’m also reluctant to give any advice that might not be accurate or effective for your situation. If it were my trees, I would consult two or three qualified arborists in your area. The industry isn’t regulated, but good arborists are usually members of the ISA (International Society of Arboriculture).
Good luck. From what I’ve read about this virus, it’s definitely troublesome.
Can you give me advice. I took a lilac shoot ten yes ago from a blooming bush. I’ve moved itv3 times due to it not blooming. Not sure what to do, It gets about 6 hrs of sun and the foliage is full and green. Just no blooms…?
Hi Jaynie, The lilac’s reluctance to bloom could be due to a few factors:
1. Too much nitrogen, which sometimes occurs if a lilac is near well-fertilized lawns. Cut back on the nitrogen it receives and give it a boost with a fertilizer with a higher middle number (phosphorus).
2. Shrub is too young to produce blooms.
3. Improper pruning. Don’t prune in early summer, when flower buds are formed.
Hope this information helps. Do readers have any other suggestions?
Can you please suggest evergreens but not cedars since they are much to water thirsty to provide a living fence against a chain link fence for privacy. Yew are to slow growing.Grasses have to be cut down. So there is the problem. My zone is 4-5. Thank You
Eliminating yews and cedars does narrow down your choices. The only tall evergreens I can think of that could work are upright junipers, such as ‘Blue Haven’, ‘Spartan’, ‘Mountbatten’ and ‘Fairview’. All are drought-resistant once established and require full sun.