Now that the season of cold and wet has roared in, we need to say a sad farewell to fresh herbs like basil and crisp, fresh salad greens . . . or do we?
While it’s possible to keep some herbs and greens going outdoors in most climates — especially in cold frames — the ultimate luxury is growing microgreens indoors, ready for any meal, anytime. Think of it: You wouldn’t need to step outside on a dark, dank night for those stir-fry greens, or plod through the snow sifting about for what’s still standing in your edible beds. Or, if you live in an apartment with no outdoor space, you could have a garden of edible greens 365 days a year.
Many vegetables and herbs can be grown as microgreens — most particularly, Asian greens, including komatsuna, mizuna, pak choi and shungiku, as well as amaranth, arugula, beet, broccoli, cress, fenugreek, fern lettuce, magenta spreen, mustard, orach, pea shoots, parsley, purslane, radish, sorrel, sunflower and Swiss chard.
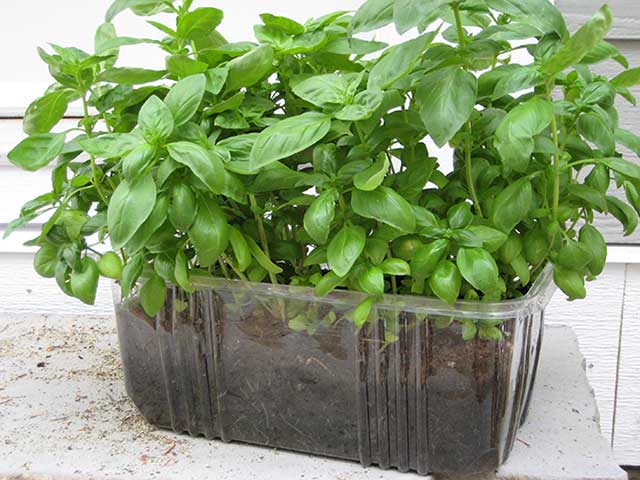
There are two additional crops that grow extremely well indoors in trays, and as it happens, they’re my top picks: basil and kale.
Basil
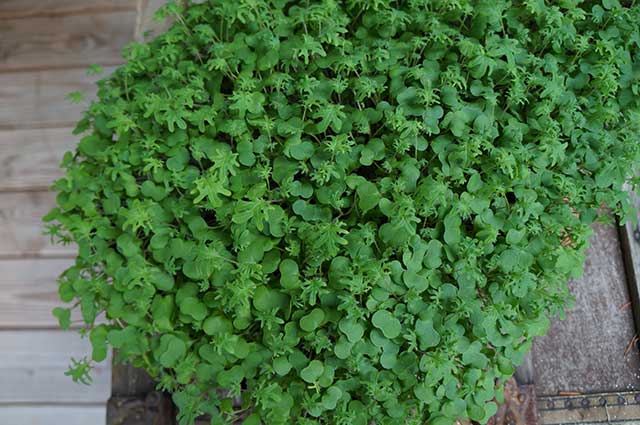
It seems too good to be true, but not only is it possible to grow large-leafed sweet Italian basil all year long under grow lights, it’s easier to tend this herb indoors than out.
Instead of guarding these precious seedlings from slugs and other unstoppable basil eaters, we avoid the siege and grow flat after flat of basil in our basement storage room under grow lights even when the weather is at its warmest. Outdoors, we stick with tougher basil picks, such as Fairyherbs Wild Color basil. Meanwhile, in the house, no matter the month, we enjoy a continuous stream of freshly snipped sweet basil for pesto, pizza Margherita, omelettes and Mediterranean soup.
A bulk bag of seed, available online through many seed sellers, will provide flat after flat that can be steadily snipped, or we can take a “thinning” approach and yank out entire young plants, roots and all, and give them a quick rinse. When the first flat is depleted, there’s another in the wings. And so it goes, week after week.
Kale
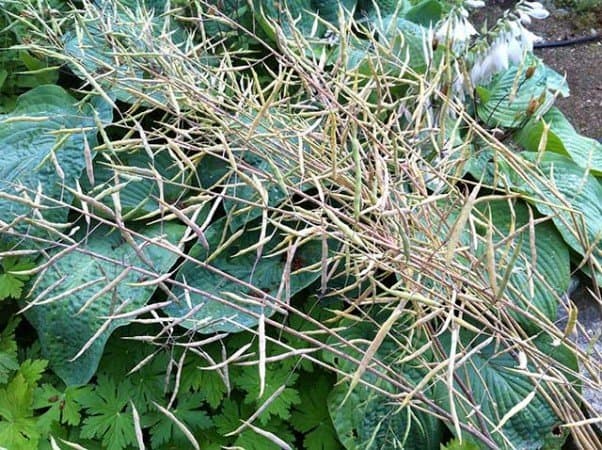
In the summer, we let our Red Russian kale growing outdoors go to seed (once we’ve picked delicious buds from it for several weeks) and save the seed to save some money. I wait until the pods are fully developed and look a bit crispy, then clip them off and stuff them into a paper grocery bag. A month or so later, I scrunch the top of the bag closed and shake the dickens out of it, after which there are a gazillion little round seeds rolling around inside the bag, enough for months of growing greens. Snipped for soups, sandwiches, salads and any other dish calling for garden-fresh greens, kale microgreens provide us with tasty nourishment with just a scissor snip.

What you need to grow indoors
Many nurseries and online seed-supply companies sell plant stands with grow lights, ready to go, or you can gather up what you need and make your own:
- Full-spectrum growing lights. Plant-grade T8 or more powerful T5 tube lamps are the best picks. The brighter the light, the sturdier your greens will be; weak light equals spindly sprouts.
- Watering can with a gentle flow or a spray bottle (mister), or both
- Sterilized potting soil
- Small trowel for scooping soil
- Clean, shallow plant or deep-root trays with drainage holes. Or use old baking pans or recycled plastic salad bins, as long as you can drill adequate drainage holes into them.
- Plastic under trays designed for seeding flats. Or repurpose old baking sheets with edges from your local thrift store.
- A place to set it all up; inexpensive shelving works well. Suspend the grow lights from a top shelf and line up your trays below.
- Transparent covers for your seeding trays to create a humid atmosphere for germination — or recycle those clear plastic salad tubs you don’t know what to do with.
- Optional: A timer for your lights to maintain a consistent 12-hour day-night cycle for the plants. This lets you off the hook from worrying about it.
- Seeds! Collect them yourself by letting your herbs and greens go to seed in the summer and fall, purchase them at your local nursery, or find a mail-order of online source to buy in bulk. You can go through a lot of seed when growing microgreens.
Getting started growing in trays
- Fill your tray with about two inches (5 cm) sterilized soil.
- Sow the seed densely. For small seeds, such as kale and basil, simply scratch them into the soil with your fingers or an old fork. Larger seeds, such as sunflower, should be pushed down deeper.
- Place on flats on under trays positioned about six inches (15 cm) below the grow lights.
- Water gently or mist thoroughly. The soil should be damp, but not soggy.
- Check twice daily to test for moisture — don’t let your soil dry out.
Microgreens can be harvested when the first pair of leaves opens fully and are a lush green, although you can let them grow larger, as we do with basil when we want lots for pesto.
Keep them coming — make planting microgreens an ongoing activity in your home!