
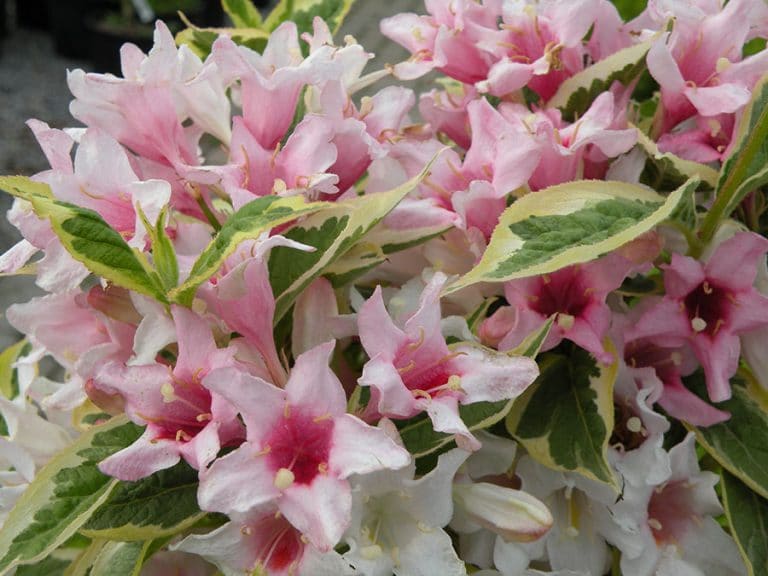

Taking hardwood cuttings in the fall is an easy, economical way to increase plants through vegetative reproduction; the new plants will be clones of the original. This method is also the only way to propagate hybrids and cultivars, which won’t come true from seed. Grow an entire hedge with cuttings from one privet shrub, or reproduce cuttings from a favourite weigela or nameless old shrub rose and give the “offspring” to friends and neighbours. Other plants that can be propagated using this method include dogwood, forsythia, honeysuckle, mock orange, spirea, elderberry and viburnum.
The best time to take cuttings is in late fall, about two weeks after the leaves have dropped and the plants have stopped actively growing. The cuttings will develop a root system in the cold months and bud out the following spring.
After following the steps below and overwintering the cuttings, move them outdoors in the spring when daytime temperatures remain above 4°C. Place them in shade and protect from wind for four weeks. After that, expose the cuttings to increased light until midsummer, which is when they can be planted in the garden. Apply liquid transplant solution and water twice a week, more often in drought periods.
If possible, hard prune a shrub the year before taking cuttings to promote vigorous new branches.
Step 1. The first cuts
Take cuttings from the current year’s growth. Select pencil-width wood that’s free of pests and disease.
With sharp pruning shears, cut lengths up to two feet (60 cm), making cuts just above a leaf joint. Remove the tapered growing tips with a horizontal cut. (If not potting up immediately, place the cuttings in a plastic bag to prevent them from drying out.)
Step 2. Right way up
Using horizontal cuts, divide the lengths of wood into six- to eight-inch (15- to 20-cm) pieces, with four to six visible dormant buds along each piece. As you cut, dot the top of each piece with a black felt-tip pen. Cuttings must be planted in the same direction they were growing on the shrub, and the black dot will tell you which end is up.
Step 3. Slanted cuts on the bottom
Line up the cuttings with their black dots facing one way, and cut each opposite end on the diagonal just below a dormant bud. (The cuttings will be different lengths, depending on bud locations.) The slanted cuts allow for greater water absorption and root development. Most important, it indicates the bottom end of each cutting, which must be planted downward. A clean razor blade makes the most effective slanted cut.
Step 4. A boost from rooting hormone
Fill clean pots with fresh soilless mix and poke a deep hole in the centre of each with a pencil. Dip the slanted end of each cutting into rooting hormone, being careful not to knock any off when inserting the cutting into the pot. Powdered or liquid rooting hormone greatly improves the success rate of cuttings.
Step 5. Insert, water and overwinter
Carefully insert the cutting’s bottom into the prepared hole, leaving two or three buds exposed above the surface. Firm the mix around the cutting and stand the pot in a saucer of warm water to absorb moisture for an hour. Remove the pot and let it drain overnight. Over the winter, keep the pots in an open plastic bag in a dark, unheated location, such as an unheated garage, that remains between 0°C and 4°C. Check pots every two weeks to ensure soil surface is slightly damp.
Read more by Judith Adam on Garden Making
- Protect evergreen trees and shrubs in winter
- Astilbes stand tall through winter
- Putting roses to bed
- Conifer needles good for the soil


Thank you so much for this wonderful article. I wanted to attempt this procedure however, did not know how. This is simple and very helpful.