April in the garden
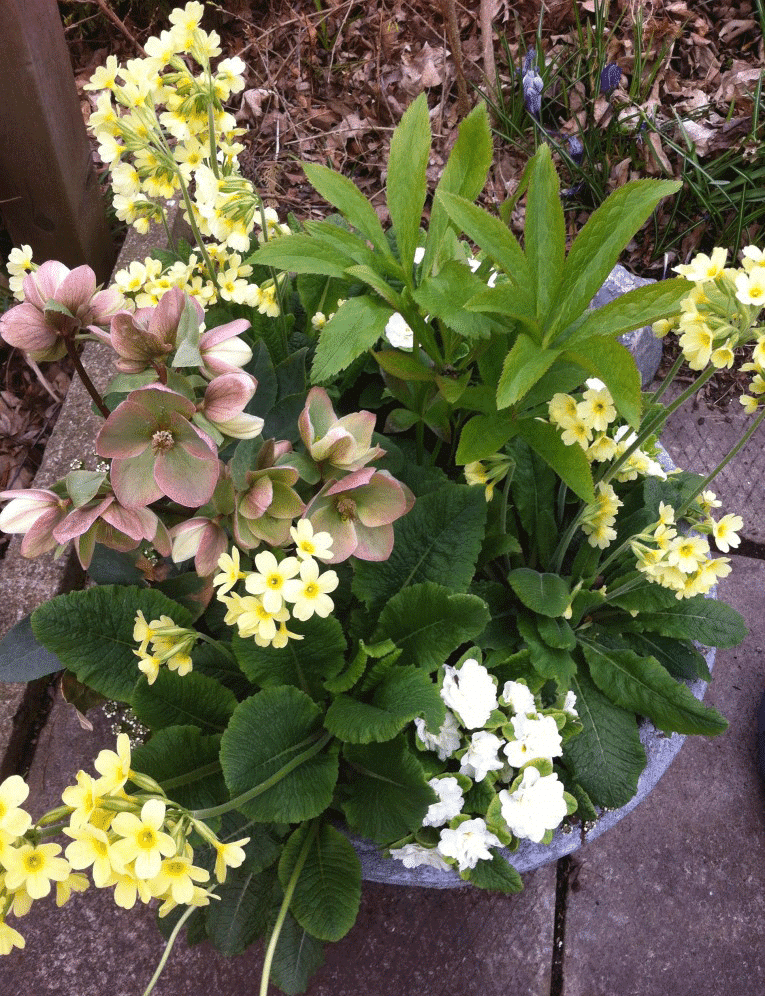
Spring garden container with pink and yellow
Beckie Fox
Your spring garden containers don’t always need to include tulips and daffodils for a pop of colour. Pair yellow and white primroses with pink hellebores.
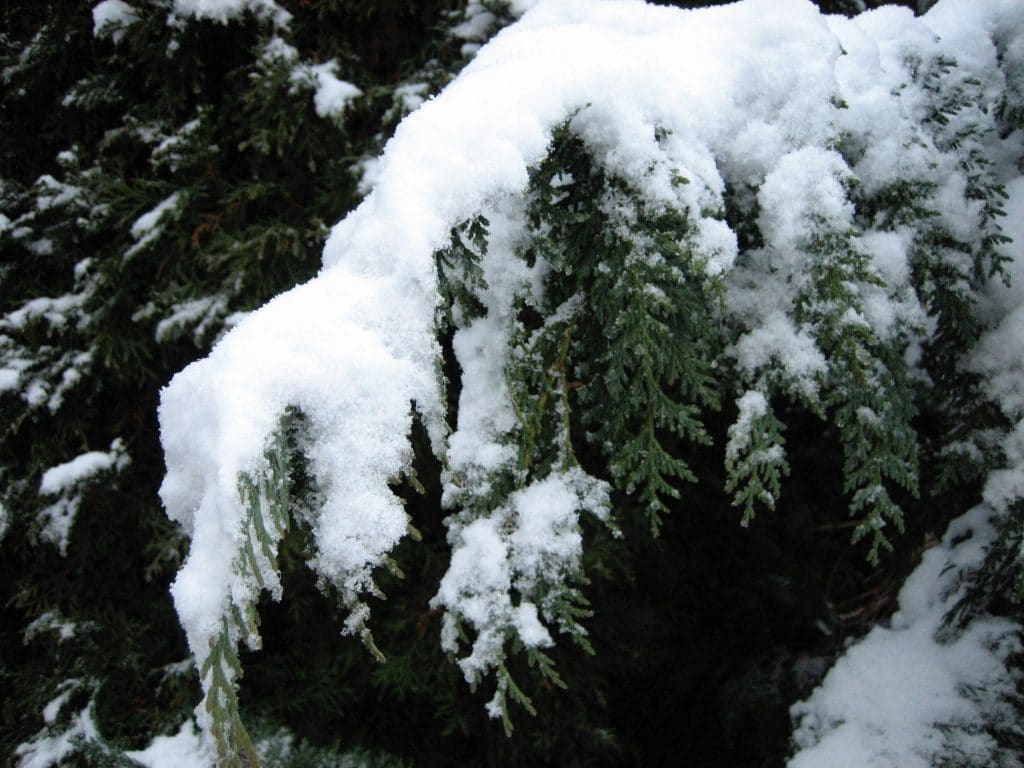
Frost protection for plants
Lorraine Flanigan
After a hard winter, the last thing you want to do is lose plants to a late spring frost. Know how to provide frost protection for plants.
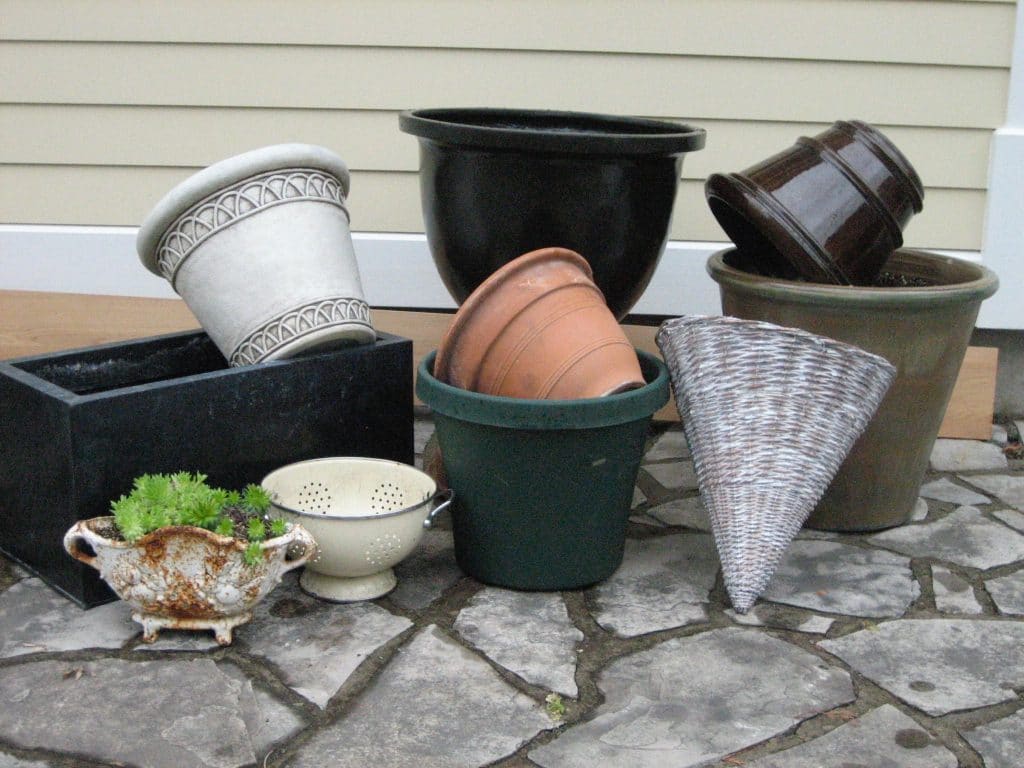
How to choose garden pots
Beckie Fox
Before you think about what plants for container gardening, consider what garden pots you have on hand, what needs replacing and what you need to acquire.
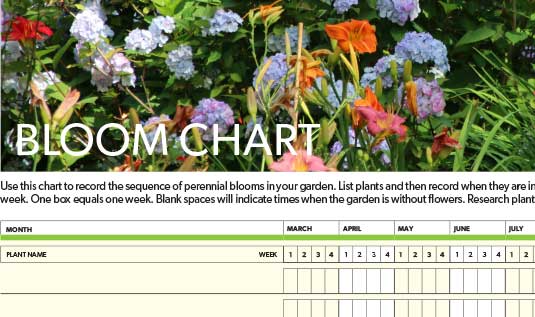
How to use a bloom chart in your garden design
Judith Adam
The Garden Making bloom chart will help you plan a succession of flower blooms in your garden design.
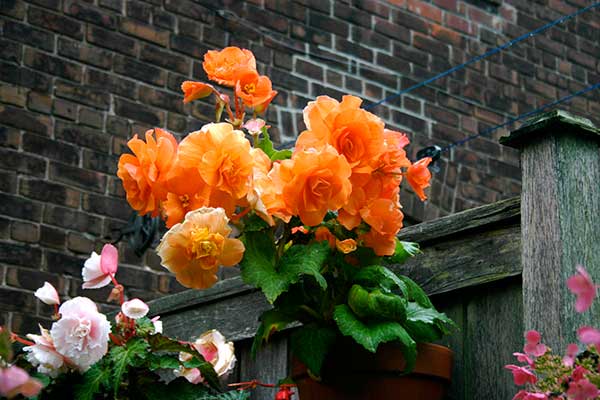
Starting tuberous begonias
Dugald Cameron
Begonias can flower continuously from June until frost, have blooms lasting over a week, are super easy to grow and come in just about every colour.