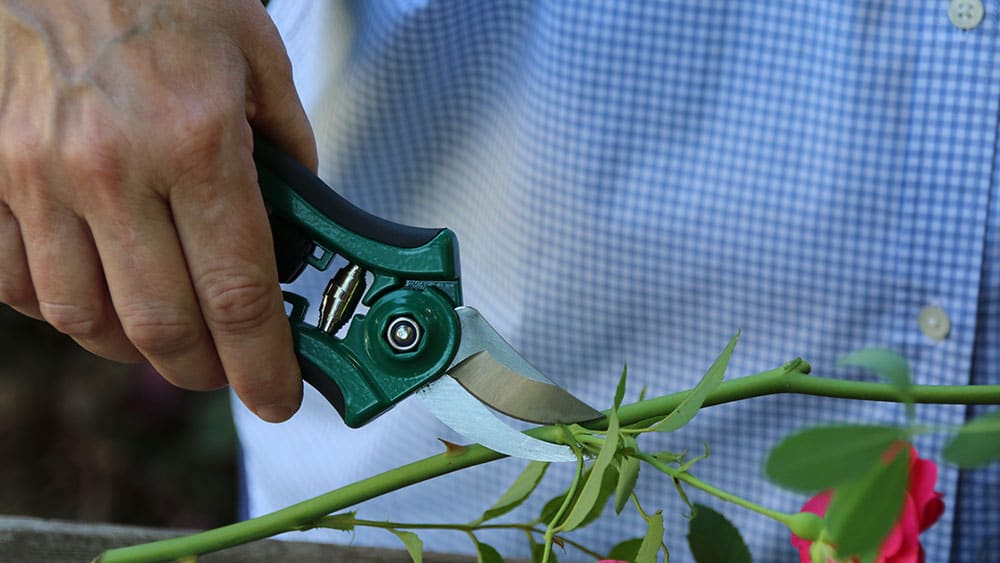
Hard-working — and often abused — garden tools such as pruners (also known as secateurs) need some pampering to be rejuvenated and at the ready for next time around, especially before being put away for the winter. A thorough cleaning and sharpening now will ensure the pruning you do next spring is performed smoothly and easily, without damage to your plants. Think of it as a spa day for your secateurs.
Cleaning garden tools
Secateurs should be wiped clean after each use and thoroughly dried to avoid rusting. To keep them working their best, here’s how to give them the deluxe treatment.
Separate the blades by removing the main bolt or screws. Wash each blade in soapy water. Use a stiff brush, such as an old toothbrush, to get at all the areas where dirt can get trapped. If there’s rust, use sandpaper, steel wool or a wire brush; for sap, you may need to apply a cleaning solvent, such as mineral spirits.
Once thoroughly dried, it’s time to restore the blades to their former glory.
Sharpening
A sharp cutting edge is essential so as not to crush or tear branches or stems, which can injure plants and leave them vulnerable to disease. Whether you have bypass or anvil secateurs, the honing method is the same; note, however, that a bypass pruner has one bevelled outside edge that needs sharpening, while an anvil pruner has a bevel on both sides of its blade.
There are a variety of sharpening tools available, including stones and files. Some require water, others oil; some are anchored, others hand-held. Whichever you use is a personal choice—just be sure to follow the manufacturer’s directions.
Key to proper sharpening is the angle of the blade relative to the sharpening surface; for example, the coarse side of a whetstone. Ideally, it should be around 23 degrees, following the angle of the bevel. Glide the cutting (beveled) edge from its base to its tip across the tool in a single direction (not back and forth), as if you’re shaving a thin layer off the stone. Repeat this several times until it’s sharp enough to slice through a piece of paper.
To smooth away any burrs, run the flat (non-bevelled) side across a finer grit surface (typically the opposite side of the stone) a few times at roughly a five-degree angle.
Next, apply a thin coating of oil, such as WD-40 or even vegetable oil, along the blades, wiping off any excess. This helps prevent dirt and sap from sticking and guards against rust.
Reassemble, add a drop of motor oil to the mechanism, and your rejuvenated secateurs will feel like brand new.
More garden tool TLC
Taking care of the business ends of shovels, spades and trowels will make your gardening chores easier. Plus, it just feels better to grab for gear that’s clean and rarin’ to go.
It’s always best to hose off your tools after each use and to make sure they’re completely dry to prevent rust. Alternatively, you can keep a five-gallon pail mixed with builder’s sand and about one litre of motor oil (sand should be damp, not wet) to dip the blades in to keep them cleaned and conditioned.
If there’s a lot of rust that can’t be removed with steel wool or sandpaper, use a drill with a rotary wire brush attachment.
Use a hand-held flat file with a bastard cut, such as a mill file, to sharpen the edges of the blade and to smooth away any nicks or burrs. Then apply a thin layer of oil over the metal to prevent rust.
Hang up tools rather than setting them on their edges on the floor.
Handle with care
To protect and preserve unfinished wooden handles on long tools, run medium-grit sandpaper over them to remove any dirt and splinters. Then, with a rag, apply store-bought boiled — not raw — linseed oil to keep the wood from absorbing water and cracking.
Tip: putting it all back together
Once pruners are cleaned and sharpened, it may be difficult to remember how all the pieces go back together again. When disassembling, place the parts in a row on the work surface in the order in which they’re removed. When reassembling, start with the last part removed and work backwards.

Leave a Reply