Over the past few weeks, I visited two friends and found them in the middle of garden construction projects. Because I’m an excellent friend, I got down in the dirt to help out for a few minutes, but I also snapped some photos and asked them to share their ideas for cheap and easy garden edging and pathways, and tips for installing a water feature. Not bad for stopping by a couple of gardens on a few random Saturdays!

Last summer, my friends Heather and Jason bought a farm with not much of an existing garden to brag about. Within a year, they added several planting beds, including a huge vegetable garden. When I visited a few weeks ago, they were putting garden edging along their front foundation bed and laying a pathway in the front of the house.
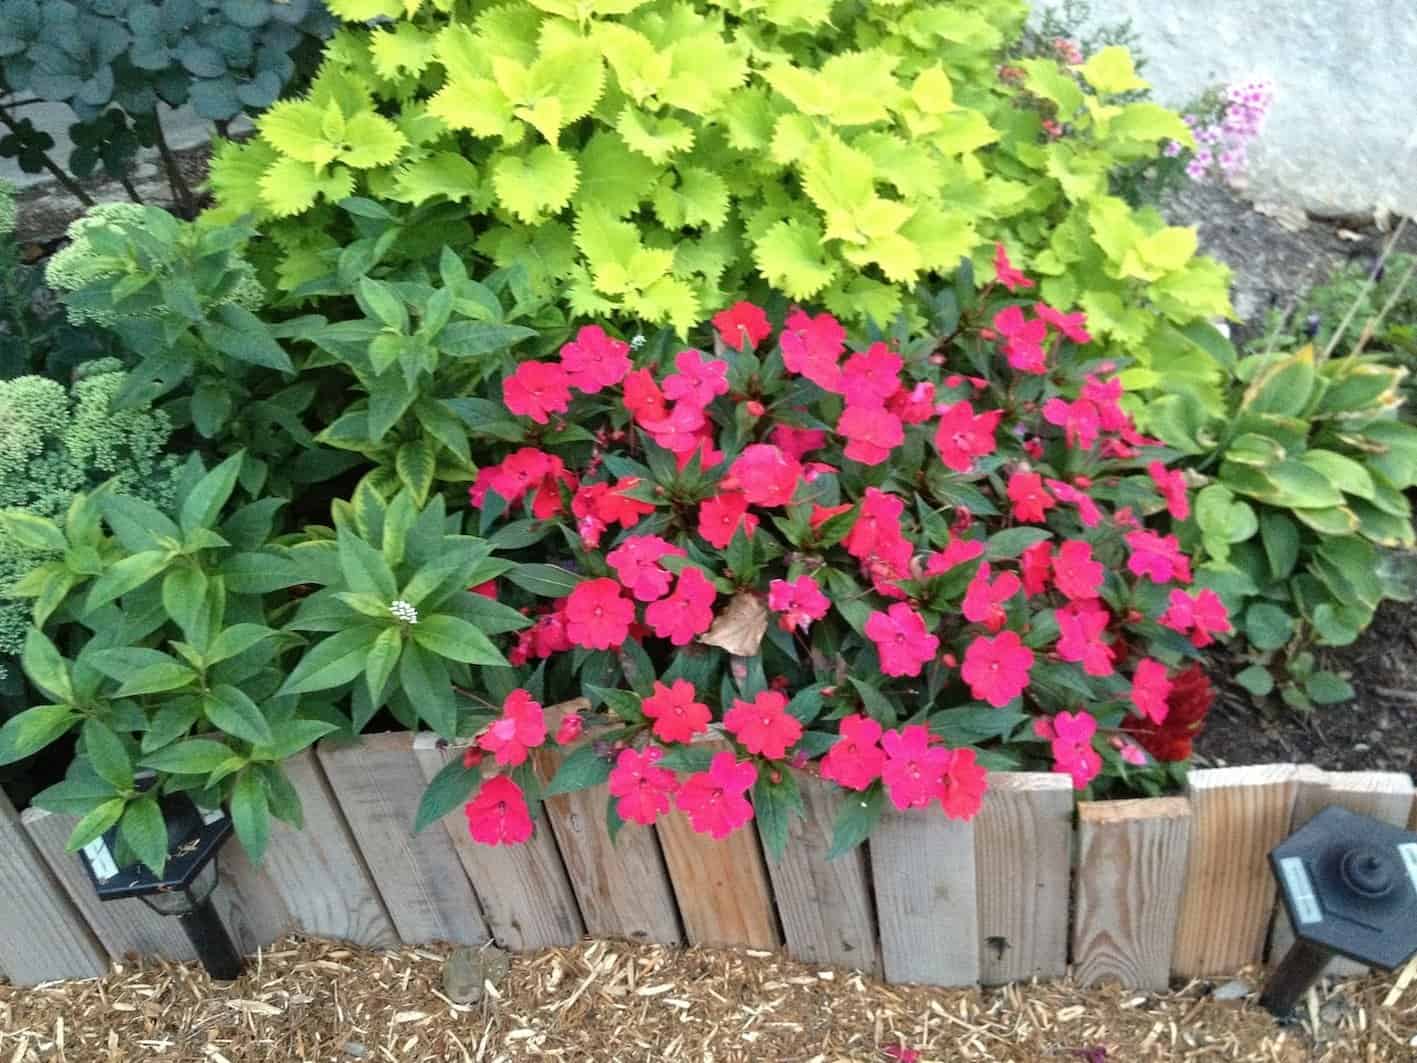
They needed something affordable for their edging, so they re-purposed wooden skids they found for free. First, they broke down the skids into planks, cutting them into uniform lengths. Next, they cut one end into a spike that could be hammered into the ground with a mallet. This is a project that you would need a saw for, and it may not be a look that suits every garden, but for their country garden and do-it-yourself attitude, it was perfect for them.


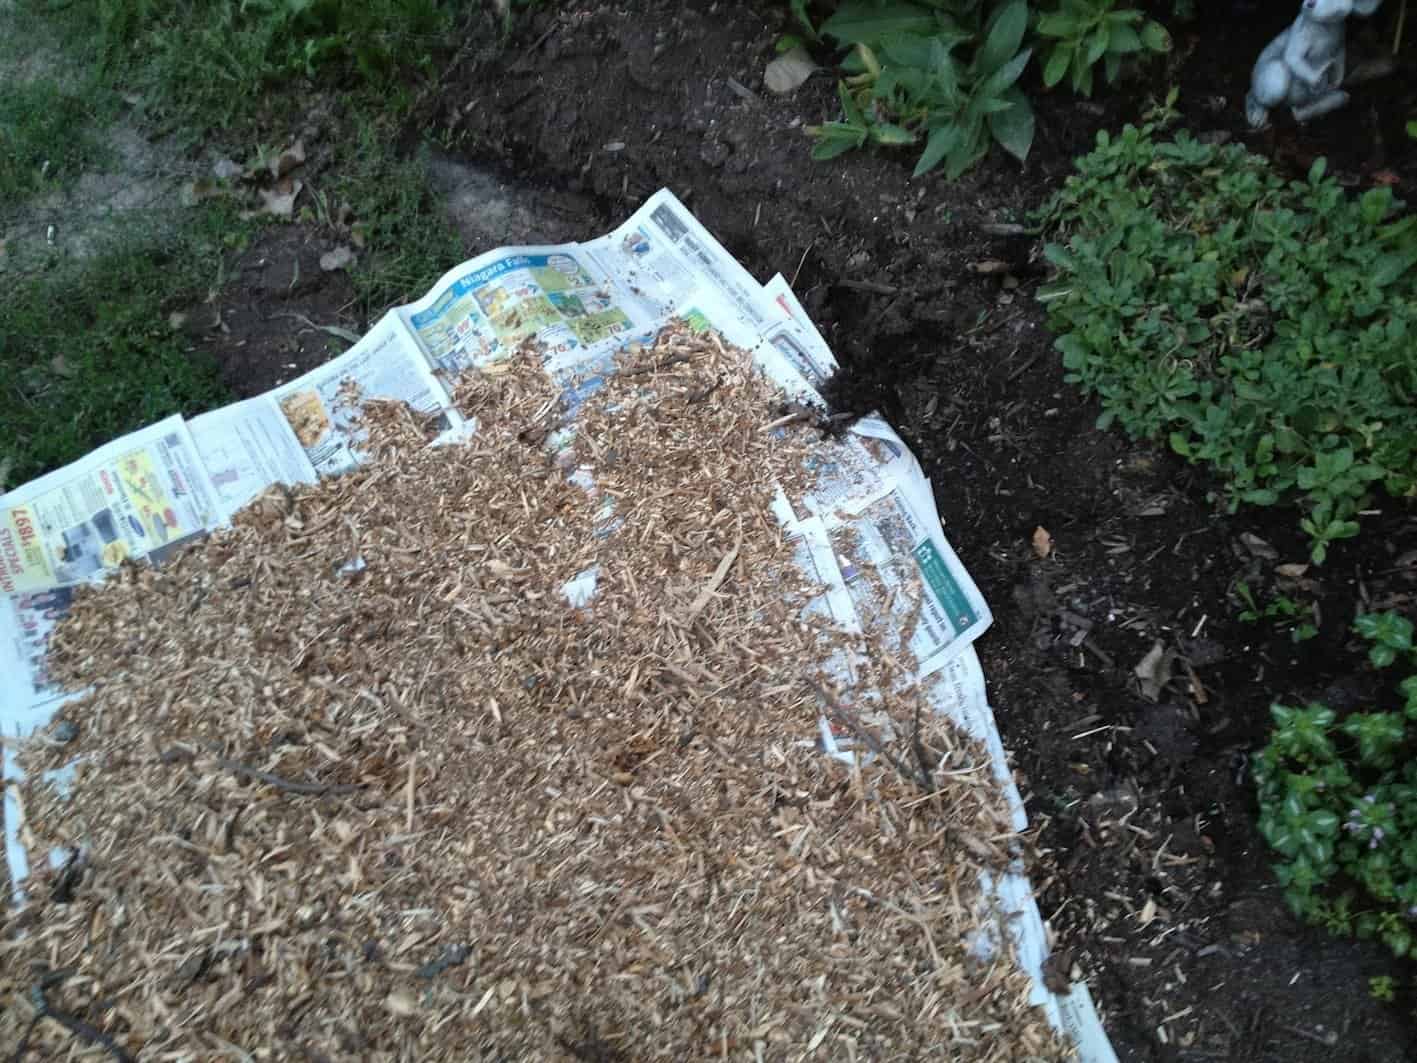
While lining up the edge of the garden bed, they were simultaneously plotting out their front pathway. They chose a wood chip mulch for the path’s surface, and to deter weeds, they placed newspapers on the ground before pouring on the mulch. Newspaper may be a short-term solution for keeping weeds from sprouting, but it will keep the path relatively weed-free for the first phase of its life. Landscape fabric would be more effective, but it’s also not free like newspaper.
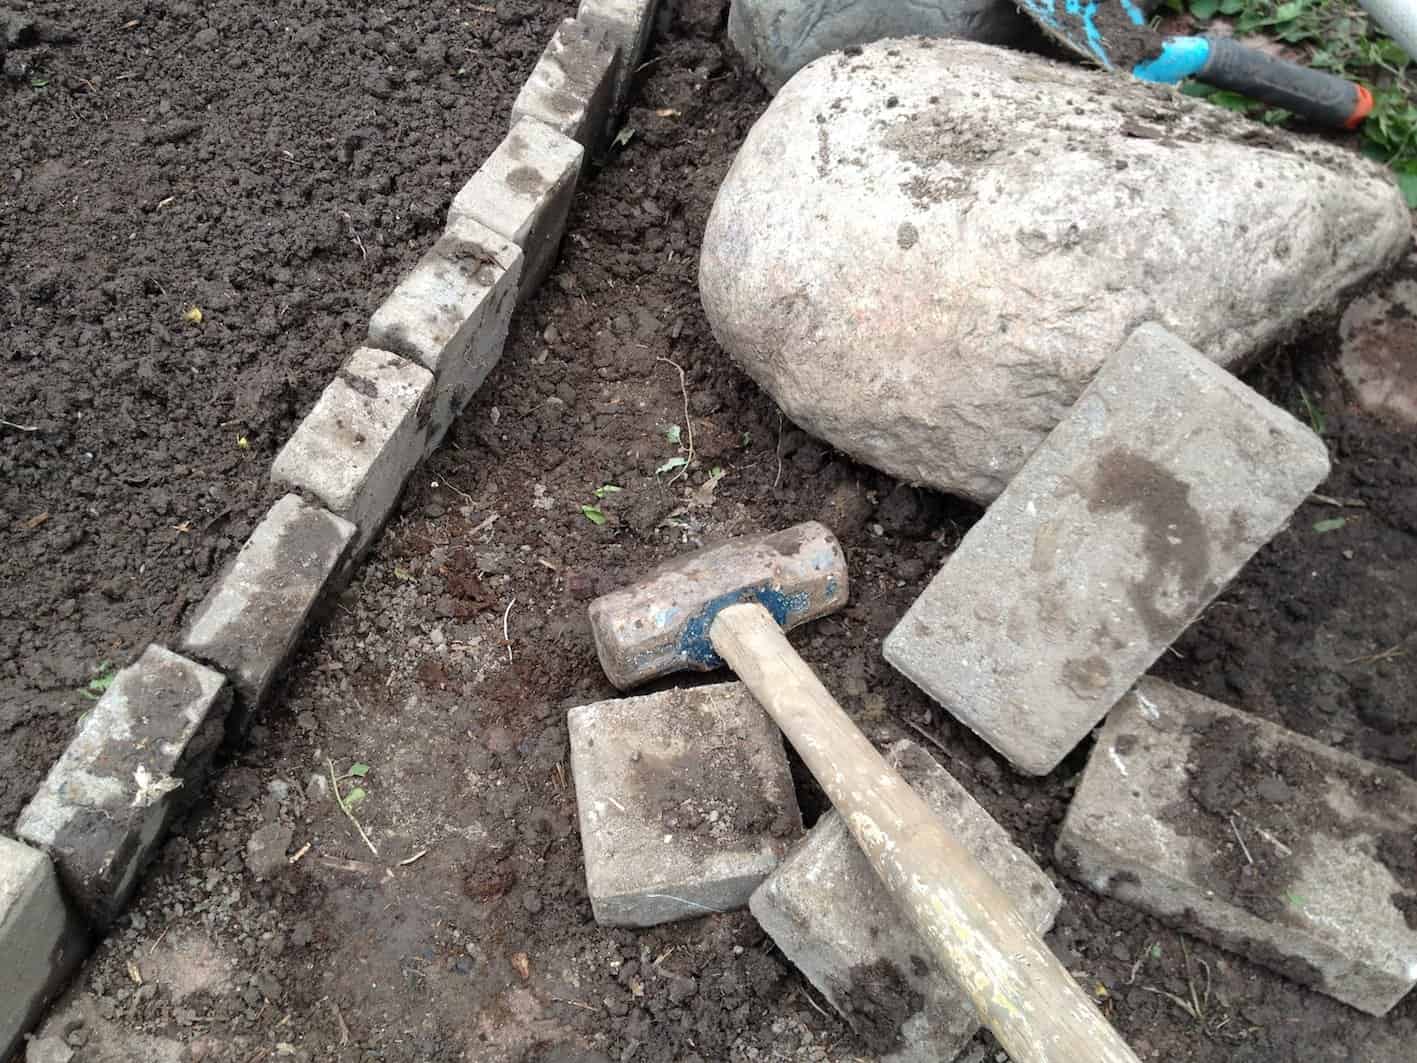
When I visited my friend Boni in the large garden of her apartment building, she was also putting in some fast and easy garden edging. The bricks she hammered into the ground along the edge of her flowerbed suit her urban garden perfectly. Not every garden is meant to have formal edging, and the bricks work in Boni’s casual, lush garden. If a few shift after the ground freezes and thaws, they’ll be easy to realign.
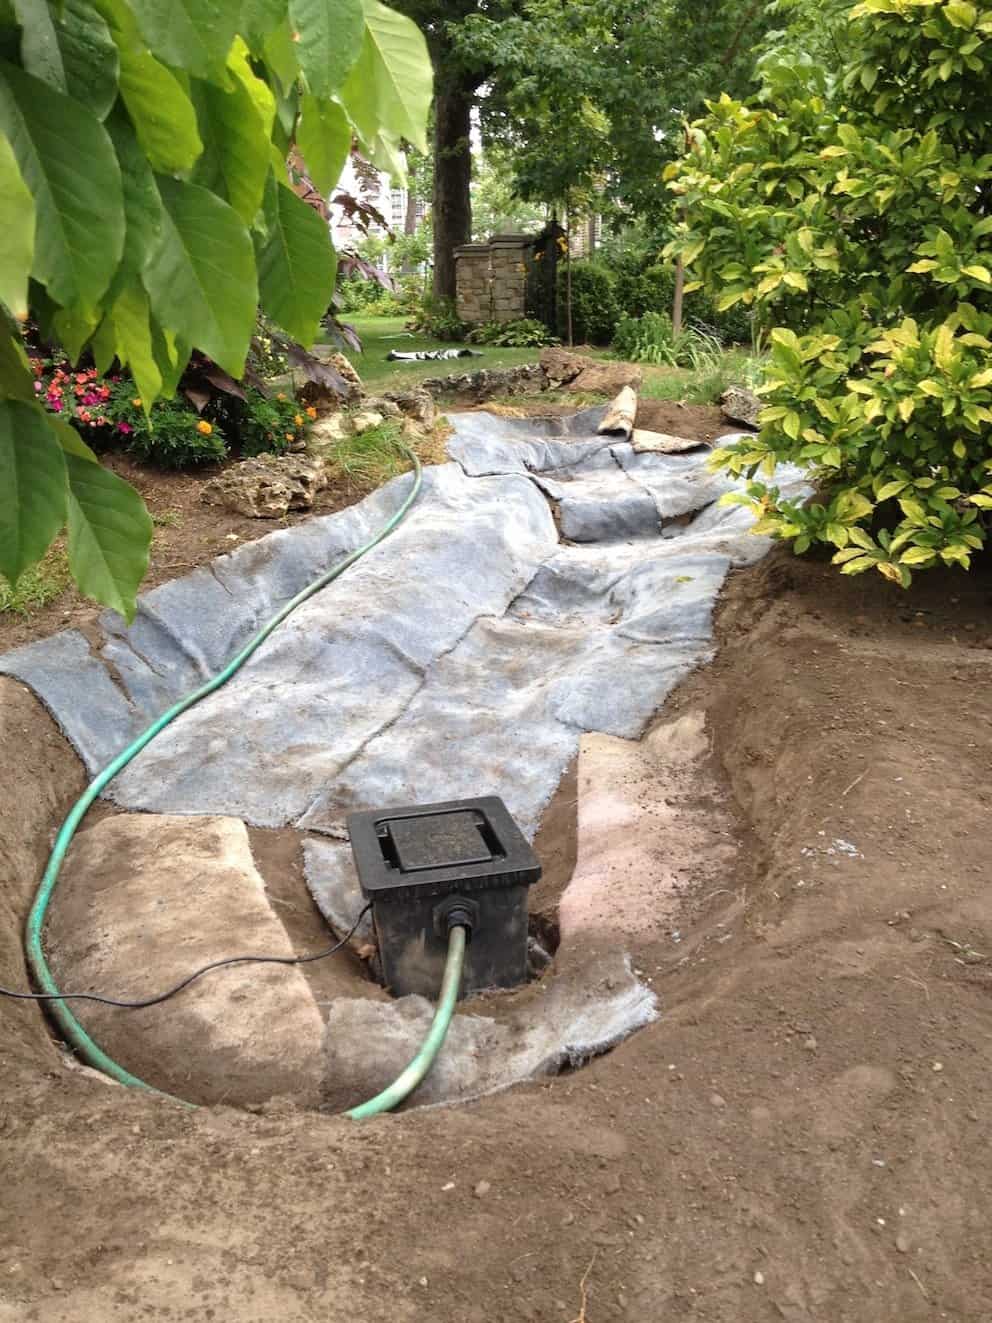
An ongoing project in Boni’s garden this summer has been a big water feature in a previously area of lawn. It’s going to be a shallow pond that flows down a gentle slope with lots of beautiful rocks of different shapes and sizes. It will be too shallow for fish, but the plants surrounding it and the sound of flowing water will make the pond the focal point of the garden. I learned two important tips for water features during the day I visited, and I’m sure there will be more as the project continues and finishes soon.
First, don’t bother putting in a pond if you have only a small space to work with. Water is a great element in any garden, but a very small pond may give you a disappointing result and not many design options. Instead, try a potted water garden (there’s a great article on how to make a water garden in a container in the Summer 2011 issue of Garden Making).
The other important tip is to not skimp on pond liner. It’s always great to find used materials, but getting a good quality, unblemished pond liner will save you a lot of potential trouble — pesky leaks. If I recall correctly, her liner is about 30 mL thick. Boni also placed pieces of old carpet under the liner to help prevent it from punctures.
The gardeners I know are often busy with new building and planting projects, and their different styles and philosophies mean that I get a wealth of information and inspiration to learn from and pass along. I’ll have lots more to share from Heather’s and Jason’s country garden and Boni’s urban garden, along with many others. As long as I pitch in, I’m sure I’ll be allowed to continue spying on what they’re up to.

If you can get to a home improvement store, they usually give away the material that plywood comes wrapped in (wood wrap). That is better under mulch in pathways than landscape fabric or newspaper.
That’s a great suggestion, thanks Elizabeth. I’ll be sure to pass it along. -Kat