While there’s nothing like an abundant harvest to make a gardener feel super successful, I find a mountain of zucchini in August less useful than a year-round supply of nutritious, edible leaves provided by a cut-and-come-again edible garden plants using container gardening.
Best of all, a snip-able bounty grown in containers can be kept in partial shade to discourage bolting, leaving your hot, sunny spaces for growing summer’s heat-loving splendours.
As always, when deciding on what vegetables to grow, I chose what’s easy — in this case, leafy greens generally classified as biennials, which means they typically complete their life cycle over two seasons of growth. While frequently grown and picked as annuals, these edibles can be surprisingly long lasting when picked one leaf or stem at a time. The first season has them sprouting greens like mad until winter dormancy sets in. The subsequent spring brings on a further burst of growth followed by budding and blooming. When this happens, you can slow a plant’s bolting by snipping the lankiest stems down…for a period of time. Eventually, the plant will lose vigour and be ready for retirement, signalling the time to replace it with new seedlings ready for a late-spring or early-summer planting, depending on how cold your climate is.
In my West Coast garden, I leave some of my containers outside all winter and near my kitchen door for fast harvests. Others are wheeled into the unheated greenhouse (using a small trolley), or a garage or basement room with adequate lighting, and these protected plants are definitely less worse for wear than their outdoor siblings come the end of winter.
A dozen good-sized pots are all that’s needed to grow enough fresh greens to jazz up soup or salad with just a scissor snip throughout summer, winter and the following spring. As soon as plants are reasonably well established, go ahead and take this “cut-and-come-again” approach, just so long as you don’t strip off more than a third of any plant. It’s good to take a tidy-up approach when harvesting, trimming plants into attractive shapes so that they add structure to the container garden.
All the biennial edibles in my container garden — celery, parsley, Swiss chard and kale — are heavy feeders, needing rich soil (preferably with some compost added) and frequent watering. Remember that potted plants are captive in containers, so irrigate daily in hot weather. They’ll also benefit from feeding with an organic kelp or fish fertilizer (liquid or granular) every 10 to 14 days.
Giant-sized containers don’t need to be completely filled with soil; most edibles require only a foot (30 cm) at most. Stuff the bottom with dried leaves or the (seedless) weeds you just pulled out of your garden. And when planting up large containers, don’t forget to cover any bare soil with edible groundcovers to keep your container garden looking lush and take your food adventures to new levels of fun and flavour.

Celery
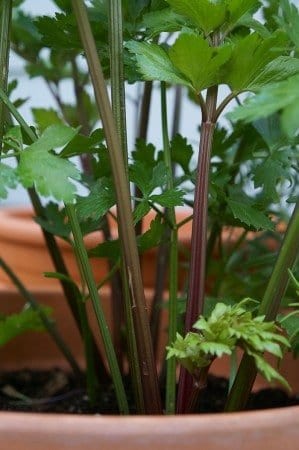
Learning that celery was on the Dirty Dozen list of the 12 fruit and vegetables most contaminated with health-harming pesticides, I decided not to buy it from the supermarket again if it wasn’t organically grown. Yet, despite having both the perennial herb lovage and par-cel greens in my garden — both of which have a celery-like taste — I missed having actual celery in the kitchen.
Previous attempts to grow celery from seed found it to be slow growing as well as unreliable when it came to germination, so I devoted my garden space to more vigorous edibles. Since then, though, I’ve gone back to including celery in the garden, taking an easy route. Buying just a few six-packs of starts from my local nursery — usually costing less than two dollars each — provides attractive and efficient fillers for mid-sized pots. Simply space the half-dozen clumps equally in each container; they grow into beautiful, tight bunches, looking handsome and adding architecture. They’ve remained pest-free, too, without pesticides.
When you want a sprig for a salad or stir-fry, simply slice off a stem or two just above soil level. By taking just a bit here and a bit there, enough of the planting remains to keep celery looking good and going strong.

Parsley
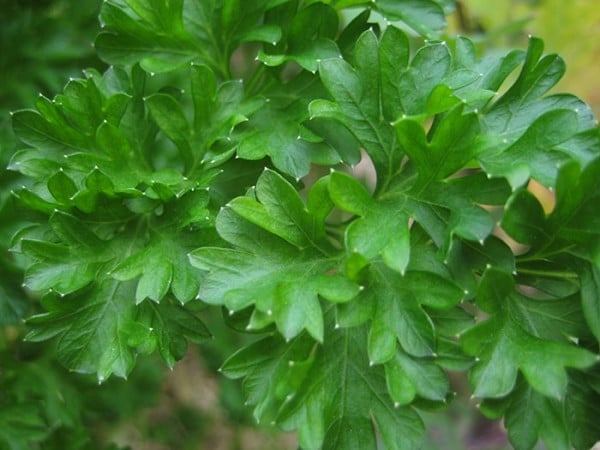
Sow seeds or tuck seedlings into outdoor containers in the spring after the last expected frost. Out in the garden, parsley can self-seed like crazy, so it works well to leave a couple in the back of a bed to proliferate, transplanting small starts into pots as needed. Or start seeds indoors in deep-root trays under grow lights. Parsley’s long taproot appreciates a deeper reach and early transplanting. Large plants generally don’t transplant well.
Parsley is available in flat- and curly-leafed varieties, and both are worth growing. Just before it goes to seed, the thick stems become particularly sweet and delicious. Cut them off to hold back the plant’s bolting and slice them up like celery to add to salads, soups, omelettes and more.
As award-winning cook Sharon Hanna (my co-author in The Book of Kale & Friends) frequently suggests, go ahead and double or triple parsley amounts given in any recipe, as it’s one of the most vitamin-packed greens you can eat.

Swiss chard
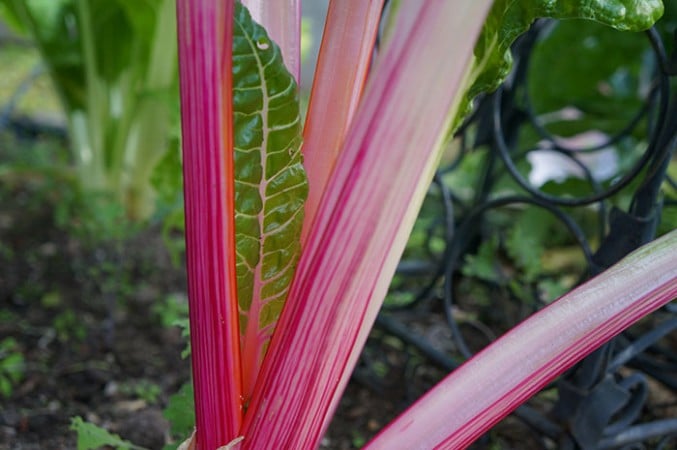
Whether rainbow-hued, gold or hot-pink ‘Peppermint Stick’, chard is gorgeous in the garden. It’s also pretty on the plate summer through fall and winter until spring, when it will bolt and signal to you it’s time to plant a fresh new patch. While I usually grow chard from seed to get the best and brightest colours available, starter plants are available at nurseries.
Swiss chard’s foliage may not have the fluffy exuberance of celery and parsley, but one good-sized leaf can go a long way in an omelette or stew, and the gorgeous stems can be finely diced to add crunch and colour to any salad.

Kale
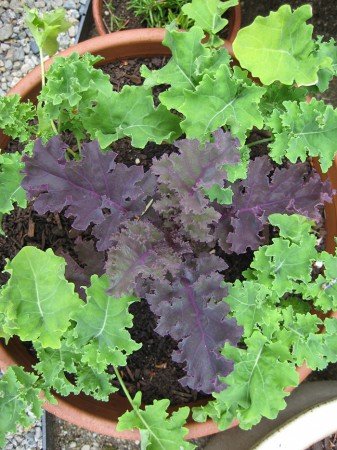
As you know by now, I’m pretty crazy about kale and grow it in raised beds to harvest all year long. When the weather gets rough, though, I appreciate also having kale in pots on the porch. And because it’s available in so many shapes and sizes, kale adds colour and interest to the container garden. Sow in early spring for summer picking, and in June for additional plants for fall and winter harvest. Or pick up young plants from your nursery for quick and easy fillers for empty pots.
When harvesting kale, snap or snip off leaves from the bottom. That said, you can also slice off the entire top third of the plant when foraging for tender greens for a salad or sauté. Uncomplainingly, kale will continue on, throwing out new growth and shooting upward unfailingly with fabulous foliage and a springtime bounty of tender buds.
More about edible garden plants and container gardening
- See our posts in Food to Grow
- See our posts on Container Gardening

Leave a Reply