

We finished our raised garden bed last week and learned a few things along the way, mainly that making one isn’t that difficult. There are several advantages to a raised garden bed, but the two that convinced me that it was the best option for my new veggie garden are 1) the chance to improve the soil and control its makeup better than an in-ground bed and 2) the soil warms up faster, which means plants have a slightly longer growing season. Here are a few points to consider, should a raised bed be on your list of gardening projects this spring.
Materials: A raised garden bed can be made from almost any material you like — straw bales, rocks, concrete, logs, etc. A popular choice, because it has a clean look and is readily available, is lumber. If you’re going that route, avoid wood that treated with preservatives (railroad ties, for example). Cedar is naturally rot-resistant and a good choice. After initially considering cedar boards and corner brackets, I stumbled across a photo of a raised bed edged with cinder blocks. I wouldn’t need to nail boards in place, and the openings in cinder blocks could hold plants. The thought of even more space for plants won me over. The blocks may not look as tidy as wood boards, but they’ll be fine once they’re full of plants.
Size: A raised garden bed shouldn’t be more than about four feet (1.2 m) wide. Any wider, and you won’t be able to reach the plants in the middle to weed, water and harvest. The length of the bed depends partly on the material you’re using. Long lengths of wood can bulge out in the middle from the soil piled inside. Depending on what you’re planting, a depth of one to two feet (30 to 60 cm) is enough. We decided on one foot (30 cm), because the soil underneath isn’t all that bad, and there won’t be many root vegetables.

Location: The sunniest spot is best, but it’s also important to consider how close your raised bed will be to water and to your house (especially if it’s an edible garden and you have a big property).
Construction: We dug up the grass and then added mushroom compost, topsoil and old potting soil. Depending on the quality of your existing soil and your nearby burrowing critter population, landscape fabric laid down before adding soil can be a good idea.
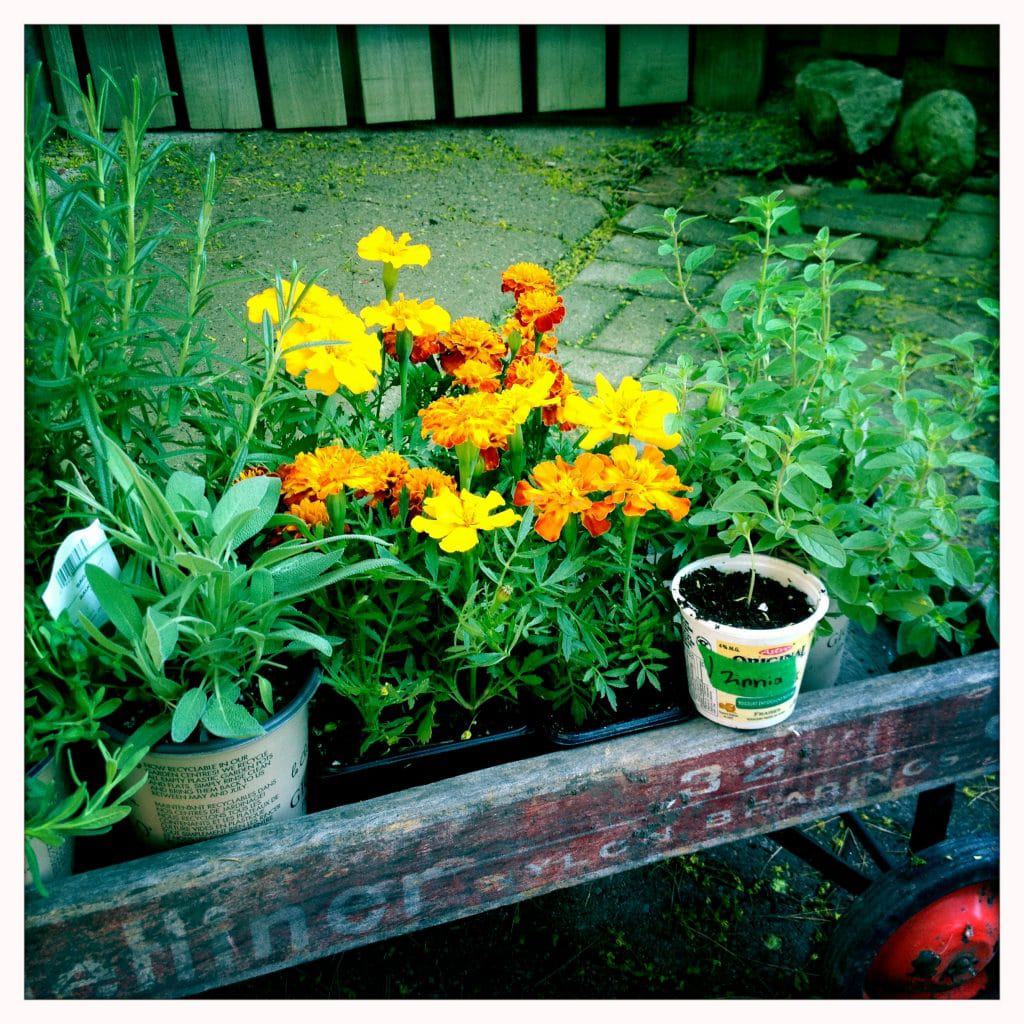
Our raised bed will eventually hold an assortment of vegetables, including beans, tomatoes, peppers, peas, and cucumbers. Marigolds, which are thought to deter pests like nematodes and aphids, along with other flowers and herbs, will fill the openings in the cinder blocks. I’ll give an update on our raised bed later this summer, once it‘s looking more green and lush, and not quite so concrete!


What a great idea for a raised bed! I think it will look quite sharp filled – such a beautiful contrast to the concrete. I hope we will all be able to read about (and see pics of) it when it’s growing.
Last year I used wooden pallets (untreated) and cut some of the wood off for depth. Lined them with lumber tarp first then added dirt. You should make sure you have clean (no pesticides, etc in it). Worked great. In some of the pallets I didn’t cut all wood inside off. Used them for carrots. Worked great.