zucchini

18 vegetables and how to store them
Garden Making
What are the best ways to store produce for a few days or weeks? Here are some environmentally responsible suggestions.
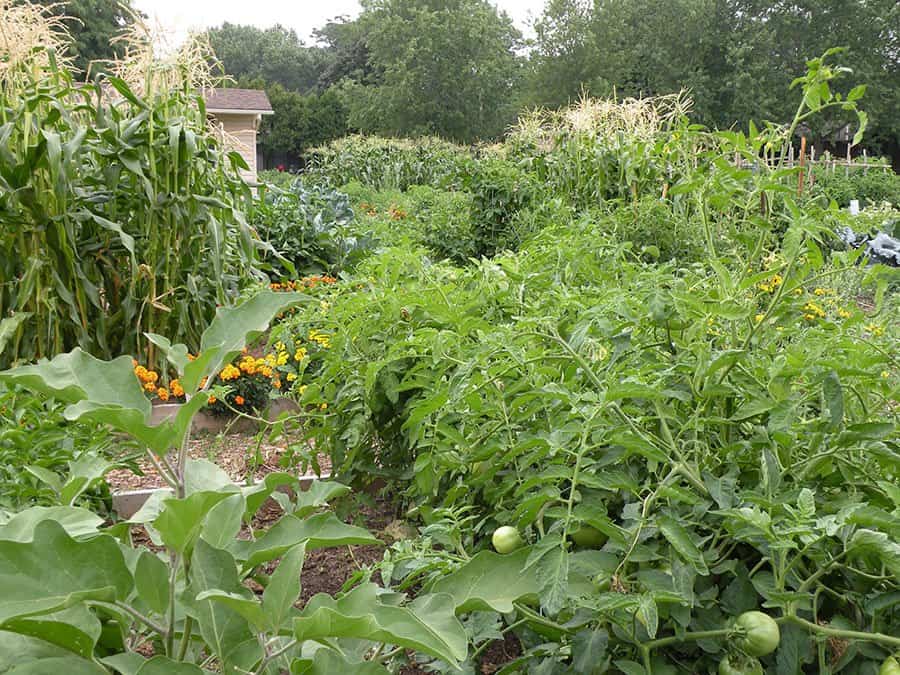
How to plan a vegetable garden
Sharon Hanna
Whether you’re new to gardening or already have green thumbs, here’s a quick guide to take you from planning to planting, and get you started on an excellent veggie adventure.
6 secrets to abundance in the edible garden
Carol Pope
Here are six secrets of the best choices for powerhouse producers that will provide you with easy, yet exquisite, edible garden fare all summer long.