Everything you need to know about starting annual flower and vegetable seeds indoors
Growing new plants from seed is one of the most gratifying experiences a gardener can have. Who doesn’t remember a classroom windowsill lined with wobbly marigold seedlings in paper cups? The expert advice in this Garden Know How will help you get your annual seeds off to a strong start, regardless of what you decide to grow.
Beckie
Seeds of annual flowers and vegetables are easy to germinate and grow on to seedling stage, either indoors under lights or outdoors directly in the garden. There are basic protocols for soil, light and moisture, with specific requirements applying to individual plant species. The seed packet is your best friend in this endeavour. Always carefully read the back of the packet because that’s where the most precise information is given for germinating and growing each plant. You’ll then know whether it’s best to start the seeds indoors or wait to sow them outdoors in the garden.
Some plants, such as carnations and statice, grow slowly from seed and need an early start indoors to be ready for blooming in our short growing season. The seeds of warm-season plants, like cucumbers and melons, will rot in the cold spring soil, thus requiring a warmer indoor start before setting seedlings out in late spring. With seed-packet timing as your guide, here are directions for sowing seeds indoors.
Timing is everything
Knowing when to start seeds indoors is important because it’s difficult to continue managing plants in small containers once they grow too large for their quarters. Not all seeds are started indoors at the same time — it depends on how quickly the seed germinates and how many weeks are needed for seedlings to reach transplanting size.
The seed packet is a good guide for when to start, as it indicates how many weeks of indoor growing is needed before your last expected frost date. Established seedlings can be transplanted outside after the last expected frost date. For example, if the packet advises planting six weeks before your last frost, and the last expected frost in your area is May 1, then the time to start that particular seed is March 15. There is a forgivable margin of error, about two weeks in either direction, but for ease in handling seedlings, it’s best to keep close to the recommended timing.
If warm weather is late arriving, warmseason plants such as zinnias, tomatoes and squash can be potted up into larger containers and kept under lights a while longer. But the general rule is to keep seedlings indoors for as short a time as possible, transferring them to outdoor garden beds as soon as they reach sustainable size and are ready for direct sunlight, wind and overnight temperatures.
Start with the right containers
Clean containers with drainage holes — either plastic cell packs or rigid plastic pots — are essential to avoid bacterial contamination of the soil mix and the death of seedlings from damping off, a fungal disease that can wipe out an entire flat overnight. Multi-cell packs can be cut with scissors into individual cells that are easy to work with and move from one light and temperature location to another as seedlings develop. Grouping cell packs or small pots in plastic plant trays is a convenient way to tend and move seedlings when necessary. Be sure not to overcrowd trays of seedlings, allowing sufficient space for air to circulate around the plants.
It’s also possible to recycle plastic food containers (from yogurt, for example) into seedling containers. Clean them with soap and water, then soak overnight in a solution of nine parts water to one part liquid chlorine bleach; rinse well. To allow for drainage, use a mat knife to cut triangles from the bottom edges and holes in the centres, similar to those in plant pots.
TIP
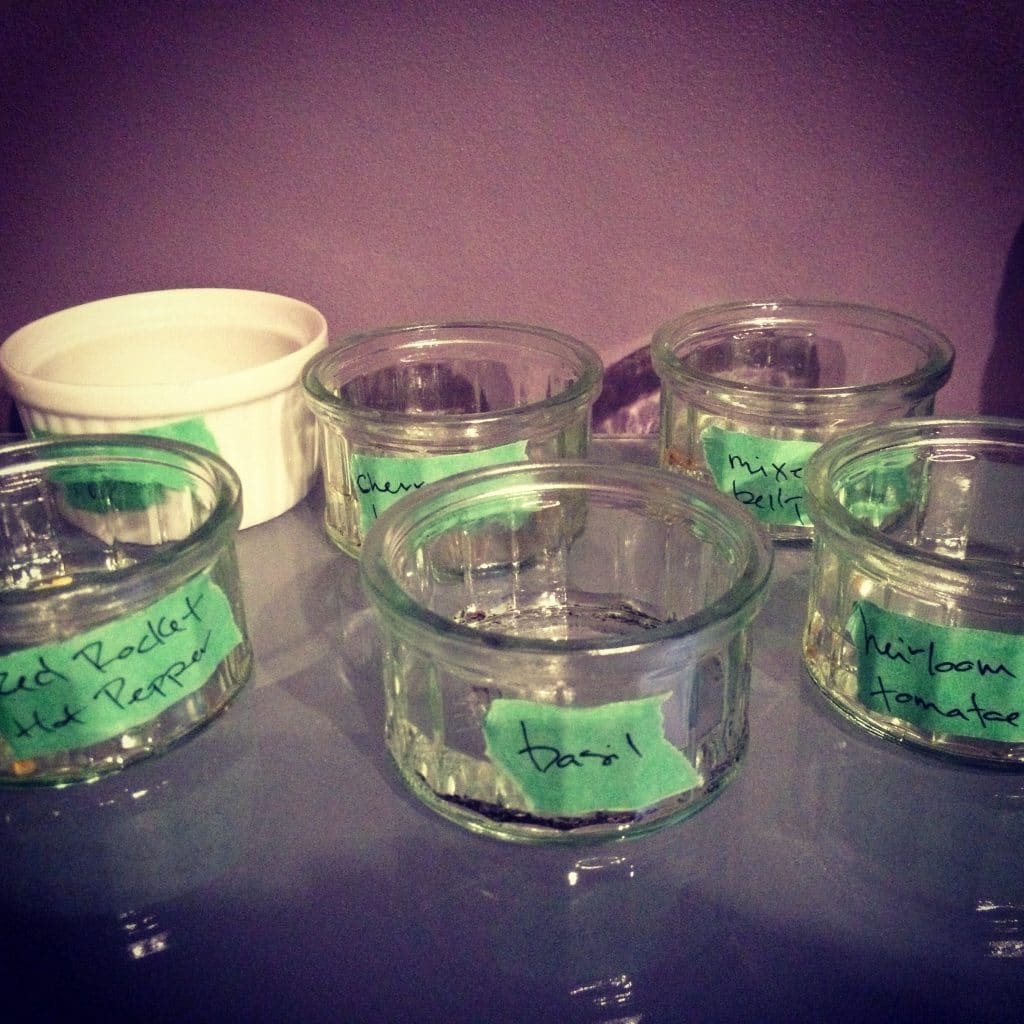
In their early days, most seedlings look remarkably alike; labelling lessens confusion. The most efficient system is a strip of masking tape at the upper edge of each container with the plant name, source of seed and date of sowing written on it with indelible marker.
Soil comes next
Use a commercial soilless mix — a combination of peat moss, vermiculite and perlite — which is free from weed seeds, bacteria and fungal pathogens often found in heavier potting soil. Some brands contain small amounts of fertilizer that are unnecessary to germinating seeds, but won’t cause damage.
Seeds require water and oxygen to germinate, and a loose soil that won’t compact. Soilless mix is light-textured, holds moisture and allows oxygen to reach seeds and roots. Using soil from your garden is not recommended. Even with a thorough oven baking to sterilize pathogens and kill weed seeds, enough will survive to likely infect seedlings and cause damping off.
TIP
Some slow-growing seedlings, such as hybrid pelargoniums and fibrous begonias, need to be started in mid-winter and will be in their containers for several months. Add 10 per cent coarse sand (one part coarse sand to nine parts soilless mix) to help stabilize their roots and prevent them from toppling over with heavy top growth.
Monitor moisture
Start with fresh soilless mix directly from a sealed bag — it should already be slightly moist. Fill your containers and lightly tamp down the mix, leaving a space of one-half inch (1 cm) at the top. Set the seeds in place, either on the surface, slightly covered or buried, depending on the seeds’ requirements.
Place the containers in a sink or basin filled with enough warm water so the bottom inch (2.5 cm) of the containers is submerged; leave for 20 minutes. Next, lift them out to drain for two hours, then move them to their location under lights. Those requiring darkness to germinate can be covered with a small piece of cardboard.
After sowing, provide some form of plastic covering, such as a sheet of plastic wrap laid loosely over the containers or a plastic dome that comes with seedstarting trays, to help maintain a humid atmosphere. It’s also possible to put individual containers into small plastic sandwich bags with the top folded loosely (but not tightly sealed) to allow air to circulate. The trick is to closely monitor the moisture conditions, providing a humid atmosphere without so much moisture that rotting occurs.
When germination occurs and green shoots are obvious, open plastic bags or prop open dome covers when necessary to prevent too much humidity. Additional moisture probably won’t be needed while the plastic is in place; however, check daily to be sure the soil appears moist and the containers feel heavy
Once seedlings have their second set of true leaves (not counting the first set of leaves, called cotyledons) and appear to be sturdy and resilient, remove plastic coverings or open plastic bags. Seedlings must never be allowed to dry out (as it will set them back irreparably), so provide more room temperature water (by bottom-soaking the containers) whenever the soil feels dry or containers are light in weight throughout the weeks that seedlings remain indoors.
How deep? What temperature?
The seed packet will give explicit directions for planting the seeds. For instance, some seeds, such as lettuce and nicotiana, require light to germinate and need to be left exposed on the soil surface. Others, however, like pansies and painted tongue (Salpiglossis), need darkness to germinate and are entirely covered with soil and then shaded with a small sheet of cardboard.
The seed packet will also indicate the soil temperature required for germination; often there is a need to switch from a warm germinating period to a cool seedling-growing stage. Seeds of warm-season vegetables and herbs — tomatoes and basil, for example — germinate quickly with bottom heat (they germinate slower in room temperature soil), then grow best into seedling stage in a slightly cool soil (they may rot entirely in cold soil before germination is achieved). An electric propagation mat sold by some seed catalogue companies is a good way to provide consistent bottom heat for fast germination.
Not all light is created equal
Incandescent light from room lamps is inadequate for seedling growth and will dry the soil. Lighting manufacturers offer plant-growth lights with varying red and blue light-spectrum formulations. These are marketed under several brand names and it’s difficult to make comparisons.
A simple combination of one cool-white fluorescent tube and one warm-white tube in a two-lamp fixture mounted in a metal hood will provide acceptable light for plants during the seedling phase. The fixture can be part of a plant stand or hung from hooks on chains. Keep the seedlings six inches (15 cm) from the lights to develop strong stems, and maintain that distance by raising the lights or lowering the seedlings as they produce each set of leaves and grow taller. If the lights are stationary, use boxes underneath the pots or plant trays to adjust the proper distance. Keep the lights on 14 hours every day, with 10 hours of darkness.
A sunny windowsill can become a small plant nursery, but the light will be insufficient for sturdy stem growth, and seedlings will develop long, bending necks as they strain toward the sunlight. If you’re using a windowsill for seedlings, turn them each day so the stems won’t develop a permanent bend in one direction.
TIP
To increase the light at a windowsill and help stems grow straight, prop a large mirror (or cover a piece of cardboard with aluminum foil) on a chair, and place it behind the seedlings so daylight is reflected onto the side of the plants that face the room.
Thinning seedlings
Thinning seedlings is necessary to prevent crowding and competition for light and moisture, and to allow sufficient space for root growth. Seeds large enough to handle individually, such as sunflowers and squash, can be planted three to a pot (to ensure at least one plant will result). Two weeks after germination, remove all but the largest seedling. Use small scissors to cut the stems at soil level; pulling them out may injure the roots of the one plant selected to survive.
If the seeds have been broadcast over a flat of soilless mix, it will be a longer process of cutting out unwanted plants. Starting seeds in flats is a labour-intensive method, and eventually those left growing in the flat will require transplanting (referred to as pricking out) into larger, individual containers.
To move seedlings into larger containers, first prepare the containers. Fill them with soilless mix and use a pencil to make a hole approximately one inch (2.5 cm) wide and two inches (5 cm) deep. Handle baby seedlings by gently grasping only the oldest set of seed leaves. Never lift them by the stem; a damaged leaf can be replaced, but a broken stem will kill the plant. Using a small fork, carefully prise a seedling out of the soil and transport it to its new container. Set the roots approximately as deep as they were in the original seedling flat, and gently firm the soil around the stem. Provide moisture immediately by standing containers in warm water for a few minutes.
Feeding seedlings
Annual flowers, herbs and vegetables that have a quick start from germination to outdoor planting time (six weeks or less) may not need any fertilizer. If seedlings are grown indoors for longer than this, they’ll benefit from some nutrients. Use a water-soluble plant food with nearly balanced numbers in the nutrient analysis, like 10-6-8.
It’s essential to over-dilute the feeding by using only half the recommended amount of fertilizer dissolved in water. Too strong a meal of nutrients can burn roots or stimulate more growth than desired. If using a fertilizer with larger nutrient analysis — 20-20-20, for example — use only one-quarter the amount of concentrated food with the specified measure of water. Seedlings must have at least two sets of true leaves to handle the fertilizer supplied and don’t need more than two feedings spaced three weeks apart while still indoors.
Apply fertilizer solution with a small watering can, or even a spoon, to individual containers. Provide enough solution to wet, not soak, the soil. This is the only time seedlings should receive moisture at the soil’s surface, as a means of carefully controlling the amount of nutrients given.
TIP
Tiny seeds, such as those of fibrous begonias and petunias, are difficult to sow. Mixing them with a small amount of fine sand makes it easier to scatter and distribute them over the soil surface. Some small seeds are sold in pelleted form, with each seed encapsulated in a degradable material, making them larger and easier to handle.
Introducing them to the real world
As seedlings reach their final week indoors, begin to reduce watering and allow the soil to be slightly drier (but not completely dry). When the last expected frost date is past and seedlings are large enough to withstand the rigours of an outdoor life, a period of adjustment starts, called hardening off.
Tender plant leaves that have known only the still currents of indoor air and fluorescent lighting may be quickly burned by sudden and full exposure to ultraviolet sunlight. Even a cool breeze can shrivel their delicate tissues, so initially place seedlings outdoors for one hour the first day in a spot protected from wind and shaded from sun. Increase the time outdoors by an hour each day, with their first three days in the shade, and setting them under the lights when you bring them back indoors. Then introduce them to direct sunlight — for a short period at first — gradually increasing the time as the days pass. After 10 days it should be safe to plant them permanently into the ground.
TIP
If spring frosts continue later than expected and the seedlings of summer-flowering annuals, such as coleus and petunias, become unmanageably tall, pinch out the uppermost growing tip on each plant, removing no more than two inches (5 cm). This halts upward growth of the tallest terminal tips, and eventually activates buds in the leaf axils lower down the stems. The process causes the plant to invest time in developing its new growth pattern, and allows a longer stay inside while the temperature warms outside.
Testing for germination viability
Old or improperly stored seeds may appear normal, but their viability might be seriously compromised by exposure to moisture, heat and light. To avoid disappointment, check viability before planting.
Place two thicknesses of paper towels on a sheet of waxed paper. Mist the paper towels with water until they’re wet but not dripping. Put 10 seeds spaced out on one half of the paper towels, and fold the other half over them, enclosing the seeds in the layers of moist towels, with the waxed paper on the outside. Set the packet of seeds into a plastic bag with the top folded over but not sealed to allow some air circulation. Place the bag flat on a plate in a warm place.
After five to seven days, check the seeds for germination. Look for an extending white root or any kind of green tissue. If seven or eight have germinated, there’s 70 or 80 per cent viability in the seeds. If only five have germinated, then the germination rate is 50 per cent, and it would be better to purchase new seeds.
TIP
Seeds that are to be kept for a year or longer require careful storage. Exposure to moisture, heat and light degrade their viability. Keep seed packets in a sealed container (a plastic food storage bin works well) in a dry, dark, cool place, but don’t freeze them. A simple homemade desiccant can be placed in the container to ensure dryness. Lay three sheets of facial tissue together and put two tablespoons (30 mL) of powdered milk in the centre. Gather up the sides to make a little ball or packet, seal it with tape or a rubber band, and put it in with the seeds.